The graham cracker base is the part that can turn messy when you peel a liner away: loose crumbs fall off, and the first bite slides right off the cheesecake. I press the crumbs firmly into each cup and give them a short bake before the filling goes in. That little head start helps these Grinch mini cheesecakes hold together when they’re chilled and lifted from the pan.
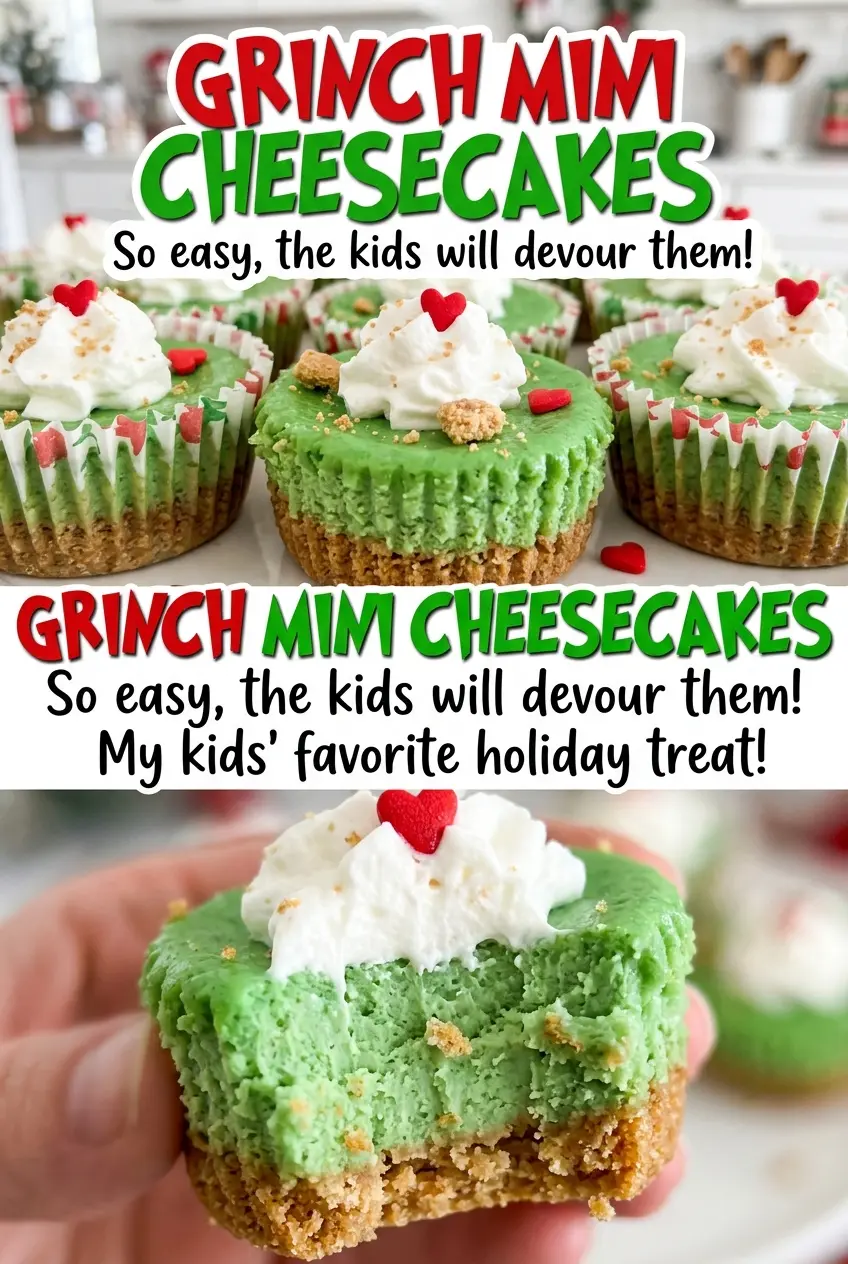
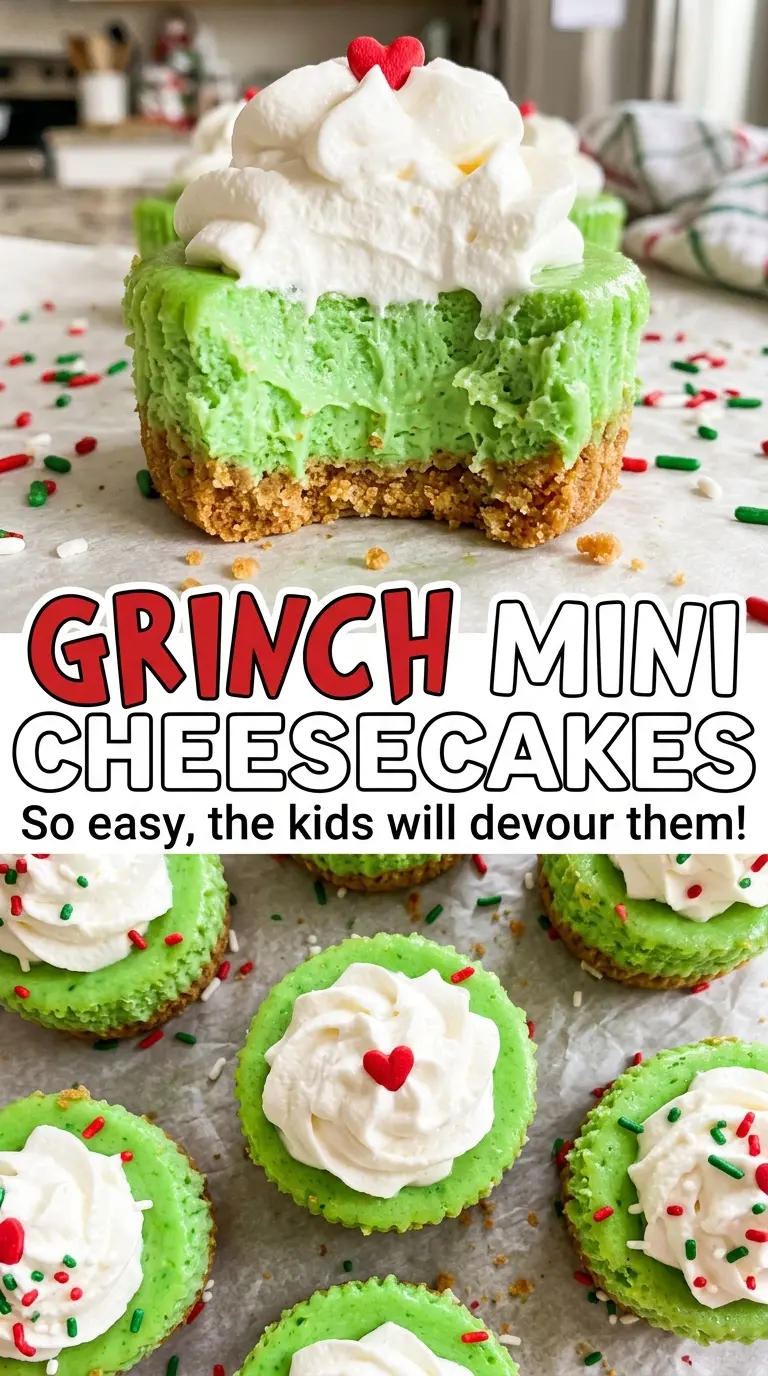
The filling gets its green color from gel food coloring, which gives you a bright shade without adding much liquid. Softened cream cheese and room-temperature eggs blend more smoothly, while gentle mixing keeps the batter from getting airy. After baking, the centers should still have a slight wobble; chilling is what gives each cheesecake its cool, creamy set and makes the red heart on top stand out.
Kitchen Note
When the eggs go in, keep the mixer on low and stop as soon as they’re blended. I scrape the bowl before adding the coloring so no thick streak of cream cheese gets left behind.
Save these Grinch mini cheesecakes for a festive treat with a green filling, crisp graham crust, and a red heart on every chilled mini.
Why the Crumb Base Gets Its Own Five Minutes in the Oven
A mini cheesecake has a small base supporting a proportionally generous layer of filling. If the crumbs are loose, that base can break apart as you lift the cheesecake or take a bite. Pressing the buttery crumbs into a compact, even layer gives them a better chance of holding together.
The brief bake before filling is more than a warm-up for the pan. It gives the crumbs and melted butter time to settle into a firmer crust, so the filling doesn’t land on a loose pile of dry crumbs. Keep the crust layer even across all 12 cups; a bare spot at the edge or a mound in the middle can make the finished base uneven. You don’t need special graham crackers or an expensive brand of butter here. The useful part is getting the crumbs evenly moistened and packed down before the pan goes into the oven.
What Each Ingredient Does in These Green Mini Cheesecakes
- Graham cracker crumbs and butter — The crumbs make a sturdy, slightly sandy base, and melted butter binds them together. Fine, evenly crushed crumbs pack more consistently than large pieces; a store-brand option works well. For a gluten-free version, use gluten-free graham cracker crumbs in the same quantity.
- Cream cheese — This gives the filling its rich body and familiar cheesecake texture. Let it soften before mixing; cold cream cheese is harder to beat smooth and can leave lumps. Plain block-style cream cheese is a better choice than whipped cream cheese for a dense filling.
- Sour cream — Its gentle tang keeps the filling from tasting one-note sweet and helps make the texture creamy. Use a fresh, smooth sour cream rather than one that has separated in its container.
- Eggs — Eggs help the filling set as it bakes. Room-temperature eggs blend into the softened cream cheese more readily than cold ones, and the recipe uses large eggs for the intended balance.
- Green gel food coloring — Gel coloring gives the filling a strong green hue without adding much liquid. The color can vary by brand, so mix it in until the batter looks evenly colored before portioning.
- Granulated sugar, vanilla, and red heart sprinkles — Sugar sweetens both the base and filling, vanilla rounds out the cheesecake flavor, and the hearts give each chilled mini its finishing Grinch detail. There’s no need to seek out a specialty brand for these pantry and decorating ingredients.
From Pressed Crusts to Chilled Cheesecake Centers
Bake the crumb bases first
Heat the oven to 325°F and line a 12-cup standard muffin pan with paper liners. Stir the graham cracker crumbs and sugar together, then mix in the melted butter until the crumbs look evenly moistened. Divide the mixture among the liners, about 1 tablespoon per cup, and press it firmly into each bottom. Bake the crusts for 5 minutes, then set the pan aside.
Mix a smooth green filling
Beat the softened cream cheese and sugar in a large bowl with an electric mixer on medium speed until smooth. Pause to scrape down the sides and bottom of the bowl so there are no unmixed patches. Beat in the sour cream and vanilla, then add the eggs one at a time on low speed, mixing just until combined. Mix in the green gel coloring until the color looks even throughout.
Fill the cups and watch for the wobble
Divide the filling among the prepared crusts, keeping the portions as even as you can. Bake at 325°F for 18 to 22 minutes. The edges should look set while the centers still wobble slightly when you gently move the pan. If the centers look fully firm in the oven, they’ve gone past the texture cue you want for a creamy cheesecake.
Cool completely before decorating
Let the pan sit at room temperature for 30 minutes. Then refrigerate the cheesecakes in the pan until completely chilled, at least 4 hours. Taking them out before they’re cold makes the soft centers harder to handle, so wait until they feel firm. Remove each cheesecake from its liner and add one red heart-shaped sprinkle just before serving.
Simple Ways to Change the Color, Crust, or Finish
Make the crust gluten-free
Replace the graham cracker crumbs with gluten-free graham cracker crumbs in the same quantity. Keep the sugar and melted butter unchanged; the crust will have the same sweet, buttery character, with the specific crumb texture depending on the brand you use.
Choose a softer shade of green
Use less gel food coloring than the listed amount for a lighter green filling. Add it gradually and stop when the shade looks right; the cheesecake will keep its creamy texture and have a subtler color.
Skip the heart for a simpler finish
Leave off the red heart-shaped sprinkle if you want a plain green mini cheesecake. The flavor and texture stay the same, but you lose the red-and-green contrast that gives these their recognizable look.
Storage and Reheating
- Refrigerator: Keep the cheesecakes covered and refrigerated for up to 4 days. The crust softens a little as it sits, but the filling stays creamy.
- Freezer: Freeze the cheesecakes without the heart sprinkles, wrapped individually and placed in an airtight container, for up to 1 month. Thaw them in the refrigerator, then add the sprinkles.
- Reheating: Don’t reheat cheesecake; serve it chilled. Warming it can soften the filling and make the crust greasy.
Questions That Come Up While Making Grinch Mini Cheesecakes
Grinch Mini Cheesecakes
Ingredients
Equipment
Method
- Heat the oven to 325°F and line a 12-cup standard muffin pan with paper liners.
- Stir the graham cracker crumbs and sugar together.
- Mix in the melted butter until evenly moistened.
- Divide the crumb mixture among the liners, about 1 tablespoon per cup, and press it firmly into the bottoms.
- Bake for 5 minutes, then set the pan aside.
- Beat the softened cream cheese and sugar in a large bowl with an electric mixer on medium speed until smooth, scraping down the bowl as needed.
- Beat in the sour cream and vanilla.
- Add the eggs one at a time on low speed, mixing just until combined.
- Mix in the green gel food coloring until evenly colored.
- Divide the filling among the crusts.
- Bake at 325°F for 18 to 22 minutes, until the edges are set and the centers still wobble slightly when the pan is gently moved.
- Cool the cheesecakes in the pan for 30 minutes.
- Refrigerate in the pan until completely chilled, at least 4 hours.
- Remove the cheesecakes from the pan.
- Top each with a red heart-shaped sprinkle, and serve chilled.