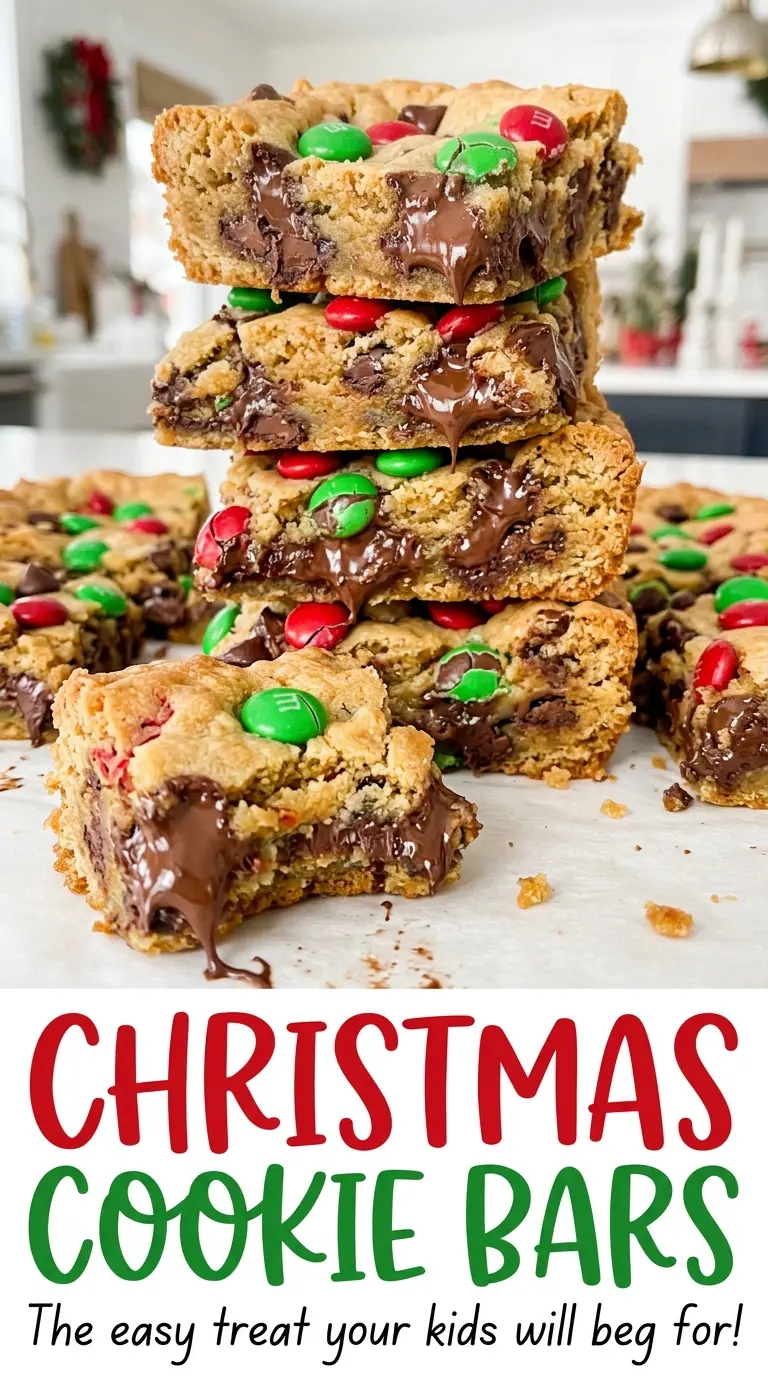
The dough is thick enough that it won’t spread itself into a tidy layer, so I press it into the pan with my fingertips and check the corners before it goes in the oven. That little pause makes a difference: an even layer bakes more evenly, with golden edges and a center that sets instead of staying doughy. These Christmas Cookie Bars bring chocolate chips and red and green M&M’s into one easy-to-slice pan, without rolling or shaping individual cookies.
I like the balance of brown sugar and granulated sugar here. The brown sugar brings a soft, chewy bite, while the granulated sugar helps the edges bake up golden. I fold most of the chocolate chips and candy into the dough, then scatter the rest over the top so each bar gets a bit of color right where you can see it. Once cooled, the bars lift out cleanly and cut into neat squares with a buttery cookie texture.

Kitchen Note
Let the bars cool completely in the pan before you lift them out. Warm cookie bars are soft all the way through, and cutting too soon can leave you with crumbly edges instead of clean squares.
Save these Christmas Cookie Bars for a festive bake with chewy cookie centers, golden edges, and red and green candy in every slice.
Why an Even Press Matters More Than a Perfectly Smooth Top
Cookie-bar dough is thicker than cake batter, and it won’t flow into every corner on its own. If one side of the pan is noticeably thicker, that section takes longer to bake while the thinner areas around it brown sooner. Pressing the dough into an even layer gives the whole pan a better chance of finishing together.
You don’t need to make the surface glass-smooth. A few small bumps are fine; what matters is keeping the dough about the same thickness from edge to edge and getting it into the corners. The parchment overhang helps you lift the finished slab without digging a spatula under the edges, which can break them while the bars are still tender.
The pan size is part of that balance, too. A 9×13-inch pan gives this amount of dough room to bake into bars rather than a thick, underbaked middle. Keep the layer level and the chocolate chips and candy spread throughout, and each cut piece will have a similar mix of soft center and browned edge.
What the Sugars, Butter, and Mix-Ins Bring to These Bars
- Unsalted butter — Softened butter creams smoothly with the sugars and gives the bars their tender, buttery crumb. A standard grocery-store butter works well; the useful detail is that it’s softened, not melted, so it can beat up creamy instead of turning the mixture greasy.
- Light brown and granulated sugars — Brown sugar gives the dough a little more moisture and a chewy texture, while granulated sugar supports browning around the edges. Packed light brown sugar is worth measuring as intended; there’s no need for a specialty brand.
- Large eggs and vanilla extract — The eggs bind the dough and help it bake into a sliceable bar, while vanilla rounds out the buttery, sweet base. Use large eggs for the intended balance, and an everyday vanilla extract is perfectly at home here.
- All-purpose flour, baking soda, and table salt — Together they give the dough structure, lift, and enough seasoning to keep the sweetness from tasting flat. Whisking them together first distributes the baking soda and salt so one bite doesn’t get a concentrated patch.
- Semisweet chocolate chips and red and green M&M’s — Semisweet chips bring a less-sweet chocolate note alongside the candy’s crisp shell. The divided portions let you tuck most into the dough and keep a little of each visible on top; ordinary baking chips and standard M&M’s work well.
From Creamy Dough to Bars That Lift Out Cleanly
Prepare the Pan and Whisk the Dry Ingredients
Heat the oven to 350°F and line a 9×13-inch baking pan with parchment, leaving enough overhang to lift the bars out later. Whisk the flour, baking soda, and table salt together in a medium bowl. Breaking up any little flour clumps now makes it easier to mix the dry ingredients evenly into the dough.
Cream the Butter and Sugars
Beat the softened butter with the light brown sugar and granulated sugar until creamy, about 2 minutes. The mixture should look cohesive rather than like separate grains and butter smears. If the butter is too firm, it won’t blend smoothly; if it’s melted, it won’t cream in the same way.
Add the Eggs, Vanilla, and Flour
Beat in the eggs one at a time, then mix in the vanilla extract. Add the flour mixture on low speed and stop as soon as no dry streaks remain. A few seconds too much mixing after the flour goes in can make cookie dough tougher, so don’t keep beating once it’s combined.
Fold in the Chips and Press the Dough
Fold in three-quarters of the chocolate chips and three-quarters of the M&M’s, distributing them through the dough without crushing the candy. Press the dough evenly into the lined pan, paying attention to the corners. Sprinkle the remaining chips and M&M’s over the surface and gently press them in so they stay put when the bars are sliced.
Bake Until the Center Looks Set
Bake for 24–28 minutes, until the edges are golden and the center looks set. The edges should have visible color, but don’t wait for the entire top to become deeply browned. Let the pan cool completely, about 1 hour, then use the parchment overhang to lift out the slab and cut it into bars.
Small Changes to the Candy and Chocolate Topping
Put More M&M’s on the Surface
Keep the full amount of candy the same, but fold in half and press the other half across the top. The bars will have more red and green color on the surface and a little less candy scattered through the middle.
Make the Top More Chocolate-Forward
For a stronger chocolate-chip finish, fold half of the chips into the dough and scatter the rest on top. Keep the total amount unchanged; the exposed chips give the surface more visible chocolate without altering the dough itself.
Change the Candy Colors for Another Occasion
Use the same amount of M&M’s in another color mix when you want these bars for a birthday or a different celebration. The cookie base stays the same, while the top loses the red-and-green Christmas look.
Storage and Reheating
- Refrigerator: Store the cut bars in an airtight container for up to 5 days. They’ll firm up when chilled, so let them sit at room temperature before serving.
- Freezer: Freeze fully cooled, cut bars in an airtight container, with parchment between layers, for up to 2 months. Thaw at room temperature before serving.
- Reheating: For a warm bar, microwave one briefly for about 8–10 seconds. Longer heating can make the chocolate and candy too hot, so check before adding more time.
Questions That Come Up While Making Christmas Cookie Bars
Christmas Cookie Bars
Ingredients
Equipment
Method
- Heat the oven to 350°F and line a 9x13-inch baking pan with parchment paper, leaving enough overhang to lift out the bars.
- Whisk the flour, baking soda, and salt together in a medium bowl.
- Beat the butter, brown sugar, and granulated sugar in a large bowl until creamy, about 2 minutes.
- Beat in the eggs one at a time, then mix in the vanilla extract.
- Mix in the flour mixture on low speed just until no dry streaks remain.
- Fold in 3/4 cup of the chocolate chips and 3/4 cup of the M&M's, then press the dough evenly into the prepared pan.
- Sprinkle the remaining 1/4 cup chocolate chips and 1/4 cup M&M's over the dough and gently press them in.
- Bake for 24–28 minutes, until the edges are golden and the center looks set.
- Cool completely in the pan, about 1 hour, then lift out with the parchment and cut into bars.