The butter foams quietly in the saucepan, then the flour turns it into a pale-gold paste that smells gently toasted. That little roux is what makes turkey gravy without drippings possible: you can build a smooth, savory gravy even when there’s no roasting pan to scrape. I keep this version in mind for smaller meals, or whenever the turkey is resting and the pan juices are already spoken for.
Low-sodium turkey broth brings the familiar turkey flavor, while the butter-and-flour base gives the gravy its body. Add the broth gradually and whisk as you go; that’s much easier than trying to chase lumps out of a full pan. A few minutes at a gentle simmer finishes the job, leaving gravy that coats a spoon and is ready to serve warm.
Kitchen Note
Pour in the broth gradually, whisking until each addition is smooth before adding more. That steady pace makes a lump-free gravy much easier to achieve than pouring it all in at once.
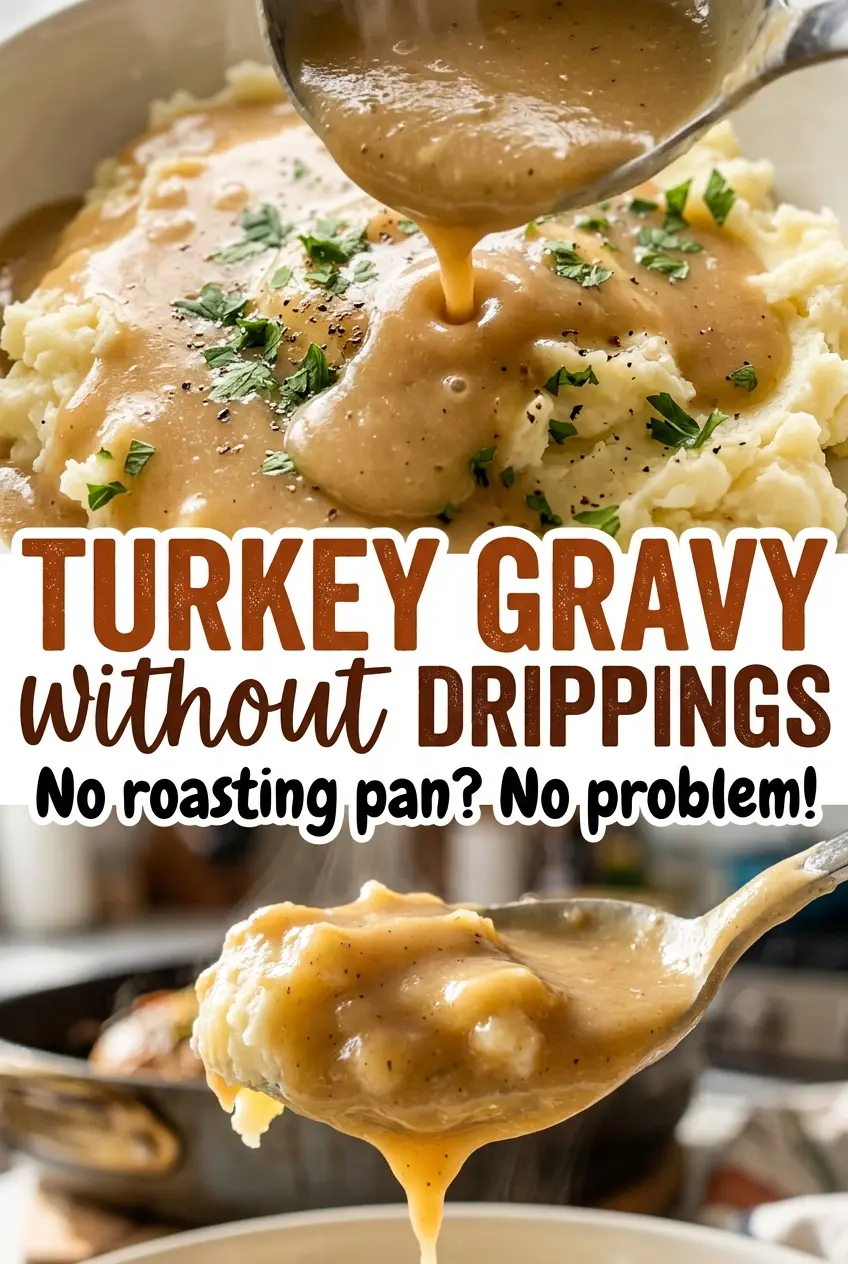
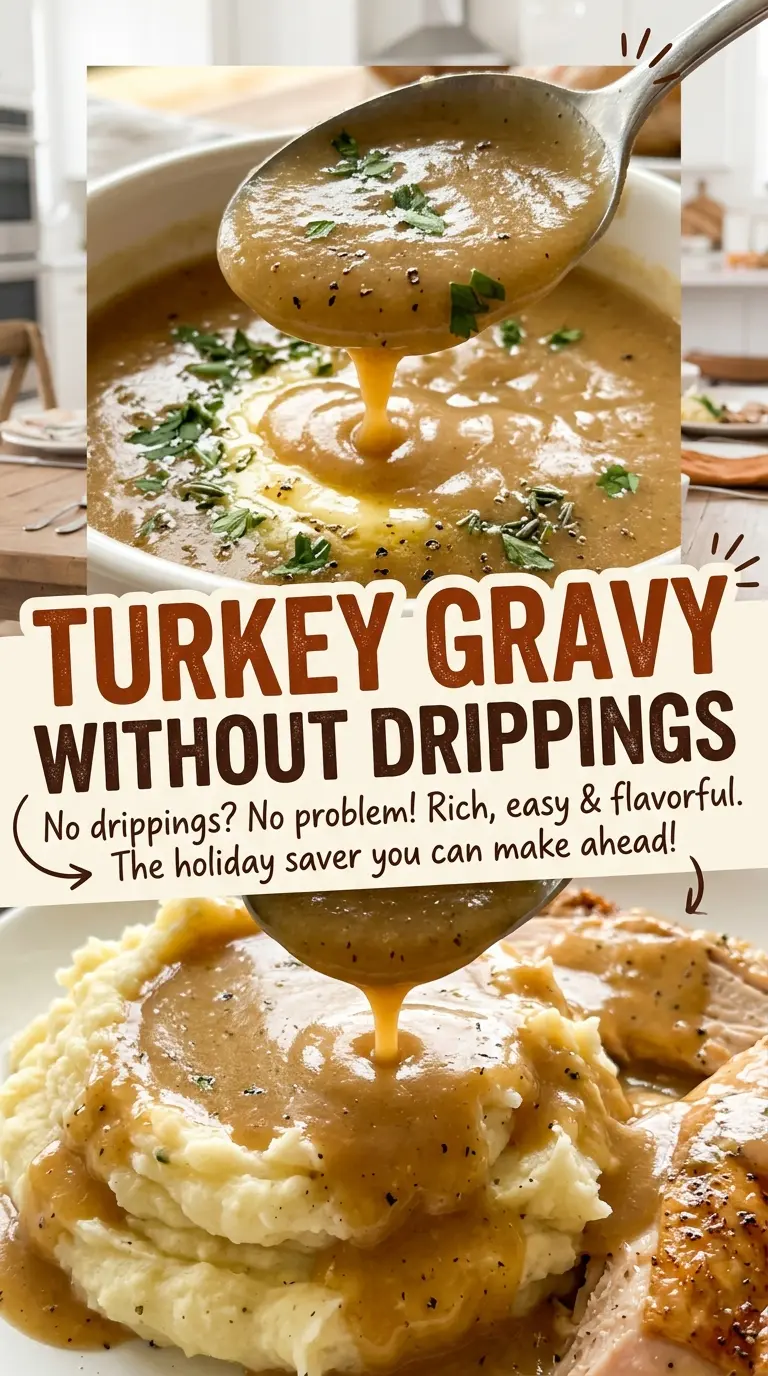
Save this turkey gravy without drippings for a smooth, spoon-coating gravy built from butter, flour, and turkey broth.
Why Drippings Aren’t What Make This Turkey Gravy Thick
Drippings add roasted flavor, but they aren’t necessary for the gravy’s texture. Here, flour cooked with butter forms a roux, and that roux thickens the turkey broth as it simmers. It’s a useful distinction: without drippings, you’re not missing the ingredient that makes gravy cling to the spoon. You’re simply starting with a clean saucepan instead of a roasting pan.
The roux should stay pale golden rather than turning deep brown. That gives it time to cook through while keeping the gravy’s flavor mild enough for turkey broth to come through. If you rush the roux, uncooked flour can leave a pasty taste; if you brown it heavily, the finished gravy will taste toastier and look darker. The pale-gold color is a clear visual cue that you’re building body without letting the flour dominate.
Broth quality matters more for flavor than trying to recreate pan fond that isn’t there. Low-sodium turkey broth gives you room to season at the end, after the gravy has simmered and its flavor has concentrated slightly. The result is a straightforward turkey gravy with a smooth texture and a clean, savory finish.
What Butter, Flour, and Turkey Broth Each Bring to the Gravy
- Unsalted butter — Butter supplies the fat that coats the flour and makes the roux whisk smoothly. Unsalted butter is useful here because broth brands vary in saltiness, and you can season the finished gravy to taste. Use fresh butter; there’s no need to buy a specialty brand. For a dairy-free adaptation, a plant-based butter stick can stand in at the same measure, though the gravy may have a slightly different buttery flavor.
- All-purpose flour — This is the thickener, and cooking it in butter before adding broth helps avoid a raw-flour taste. Keep it fresh and break up any compacted clumps before measuring so it blends evenly into the melted butter. For a gluten-free version, a cup-for-cup gluten-free flour blend is the most practical swap; its thickening can vary by blend, so use the spoon-coating cue rather than judging by color alone.
- Low-sodium turkey broth — The broth provides the turkey character that drippings would otherwise contribute. Choose a broth you like the taste of on its own; a weak or overly salty one will show through in a short ingredient list. Low-sodium broth is especially helpful because you can decide how much salt the finished gravy needs.
- Kosher salt and black pepper — These season the gravy without covering up the broth. Ground black pepper is easy to whisk in evenly, and tasting near the end lets you account for the broth’s salt level before adding more seasoning.
Building a Smooth Roux and Simmering It to the Right Texture
Cook the Butter and Flour Until Pale Golden
Melt the butter in a 2-quart saucepan over medium heat. Whisk in the flour right away and keep whisking constantly for 2 to 3 minutes, until the roux looks smooth and pale golden. If flour sticks in dry pockets along the bottom or sides, scrape it back into the mixture as you whisk. Don’t wait for a deep-brown color; the target is a lightly toasted roux.
Whisk in the Broth Without Leaving Lumps
Gradually pour in the turkey broth while whisking, smoothing the mixture as you go. At first, the roux will loosen into a thick paste, then become more fluid as the broth is incorporated. Keep whisking around the bottom edge of the pan, where flour can cling. When the mixture is smooth, bring it to a gentle simmer over medium heat.
Simmer Until It Coats a Spoon
Cook the gravy for 5 to 8 minutes, whisking often, until it thickens enough to coat the back of a spoon. Look for a steady, gentle simmer rather than a hard boil; the surface should bubble softly. If it still looks thin, give it the full simmering time and check the coating cue again. Stir in the salt and pepper, taste, adjust the seasoning if needed, and serve warm.
Simple Swaps and Make-Ahead Options for This Gravy
Make It Gluten-Free
Swap the all-purpose flour for the same measure of a cup-for-cup gluten-free flour blend. The gravy may thicken at a different rate, so use the spoon-coating texture as your guide; avoid assuming the color will match the wheat-flour roux exactly.
Make It Dairy-Free
Use a plant-based butter stick in place of the butter, keeping the same measure and method. Choose a plain, unsalted version if available so it doesn’t add an unexpected flavor or extra salt. The gravy will still thicken from the flour, though it won’t have quite the same dairy-butter taste.
Use Low-Sodium Chicken Broth
Replace the turkey broth with the same measure of low-sodium chicken broth if that’s what you have. The roux method stays the same, but the gravy will taste less distinctly like turkey. Taste before adjusting the salt, since broth brands differ.
Storage and Reheating
- Refrigerator: Store cooled gravy in a covered container for 3 to 4 days. It will set up thicker as it chills.
- Freezer: Freeze in an airtight container for up to 2 to 3 months for best quality. Thaw it in the refrigerator; a little separation after thawing is normal.
- Reheating: Warm it gently in a saucepan, whisking until smooth, and heat leftovers to 165°F. Avoid a hard boil, which can make the gravy reduce too far before it’s evenly hot.
Questions That Come Up When Making Turkey Gravy Without Drippings
Turkey Gravy Without Drippings
Ingredients
Equipment
Method
- Melt the butter in a 2-quart saucepan over medium heat.
- Whisk in the flour and cook, whisking constantly, for 2 to 3 minutes, until the roux is smooth and pale golden.
- Gradually whisk in the low-sodium turkey broth until smooth.
- Bring the gravy to a gentle simmer over medium heat.
- Cook, whisking often, for 5 to 8 minutes, until thickened enough to coat the back of a spoon.
- Stir in the kosher salt and ground black pepper.
- Taste and adjust the seasoning if needed.
- Serve warm.