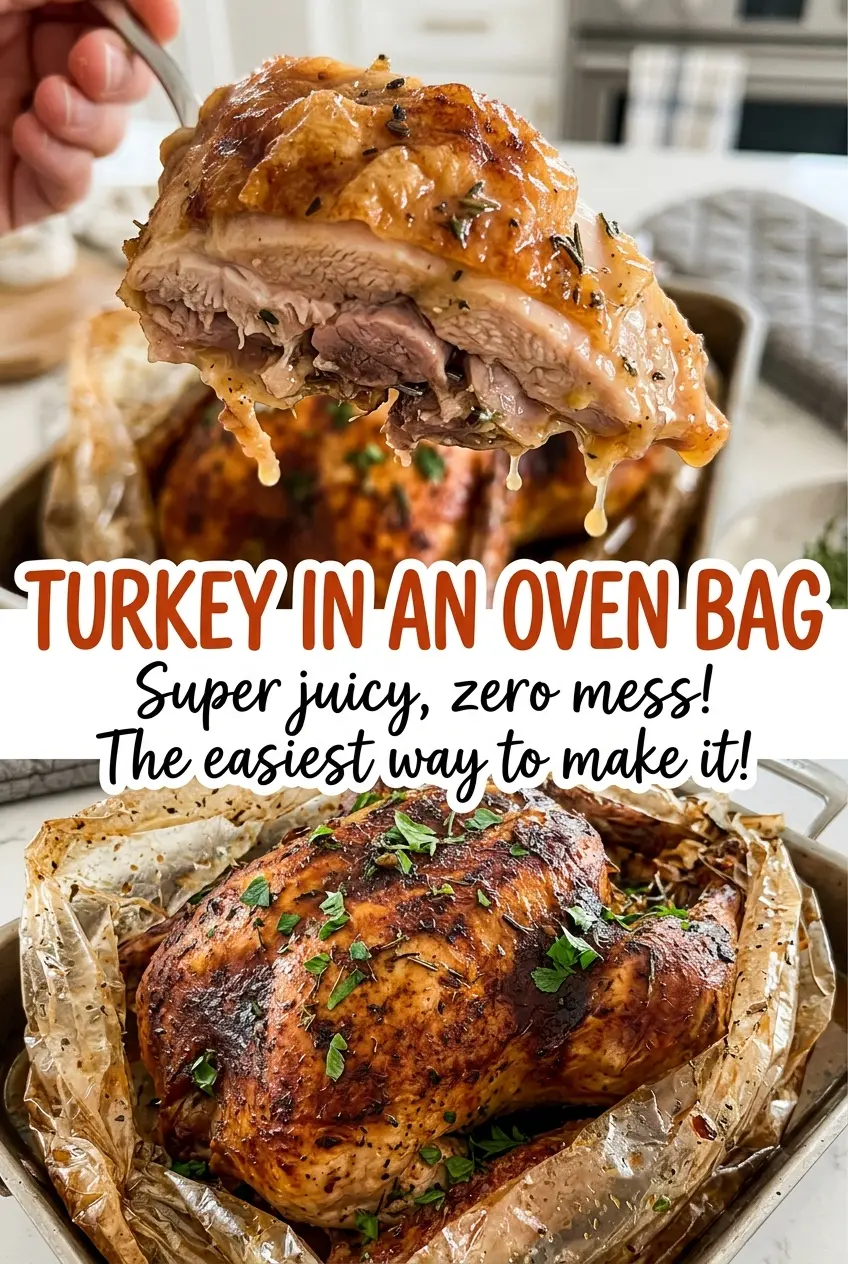
The oven bag starts to puff as the turkey roasts, and that’s when I’m glad I moved the rack down before the pan went in. A bag that touches the oven walls or heating element can cause trouble, so I leave it plenty of room. For a 12- to 14-pound bird, this turkey in an oven bag makes a straightforward roast with less guesswork about keeping the meat moist.
Softened butter spreads over the turkey before the seasonings go on, and onion and celery sit inside the cavity as it roasts. The bag holds in moisture, while a thermometer gives you a dependable doneness check. I like that the method doesn’t ask you to baste the bird over and over; once it’s sealed and in the oven, you can leave it alone until it’s time to check the temperature. The result is tender turkey ready to rest and carve.
Kitchen Note
Cut all six slits after you tie the bag, before it goes into the oven. Keep them small and on top; they give steam a way to escape without opening the bag wide.
Save this turkey in an oven bag for a tender roast with a butter-and-thyme coating and an easy thermometer check.
Why an Oven Bag Still Needs Room Around It
The bag isn’t meant to press against the oven. As it heats, it expands around the turkey, so the rack position matters before the roasting pan goes in. If the bag touches the oven’s sides, top, or heating element, it can melt or burn. Lowering the rack gives the bag space to rise without making you rearrange a hot pan later.
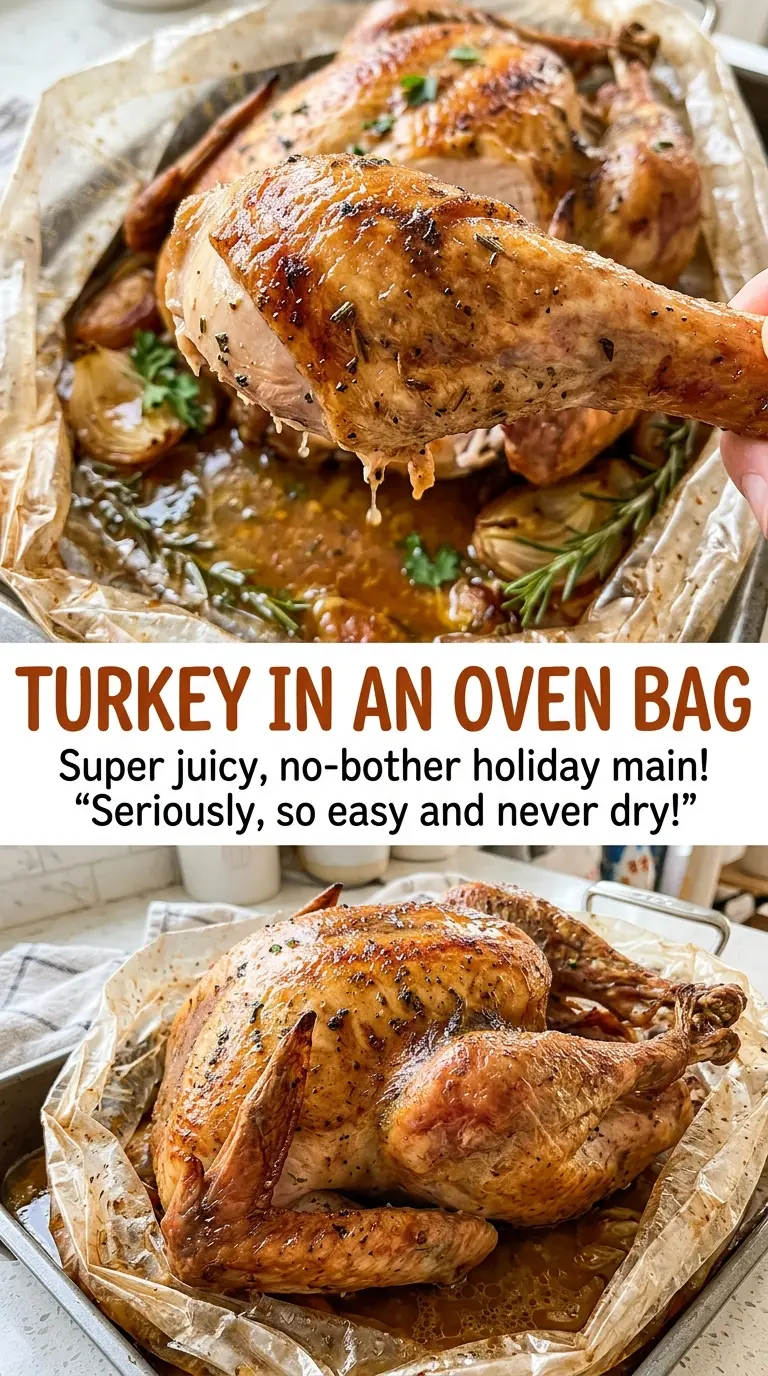
There’s also a difference between a moist roast and a crisp-skinned roast. The closed bag traps moisture around the bird, which helps keep the meat tender, but it won’t give the skin the dry, exposed heat of an uncovered roast. I use this method when a juicy, uncomplicated turkey is the priority. The bag’s appearance isn’t a useful doneness cue, either; rely on the thermometer rather than waiting for the bird to look a particular shade of brown.
Before roasting, take a moment to check the pan and oven setup together. The large roasting pan should sit level, and the bag needs clearance on every side once it’s filled. That little bit of planning is easier than trying to solve a fit problem after the turkey is seasoned and ready to roast.
What the Flour, Butter, and Cavity Aromatics Contribute
- All-purpose flour — Shaking flour around the inside of the bag gives it a thin coating; don’t leave it in a pile at the bottom. A standard grocery-store flour is fine. For a gluten-free adaptation, use a gluten-free all-purpose flour blend in its place, keeping the same amount and coating the bag the same way.
- Whole turkey — The bird needs to be completely thawed, with the giblets and neck removed, and patted dry before you butter it. The 12- to 14-pound size is what this pan-and-bag setup is built around. There isn’t a like-for-like substitute that keeps this a whole-turkey roast.
- Unsalted butter — Softened butter spreads in an even layer and helps the seasonings cling to the skin. It doesn’t need to be a specialty brand; the useful detail is its softened, spreadable texture, not its price. Salted butter changes the seasoning balance, so unsalted is the straightforward choice here.
- Black pepper and dried thyme — These give the turkey its simple savory seasoning without covering up the roasted bird flavor. Dried thyme is convenient and easy to distribute; fresh herbs aren’t needed for this method. If you want a plainer roast, leave out the pepper or thyme rather than adding another seasoning.
- Yellow onion and celery — Quartered onion and celery pieces go in the cavity, where they lend a mild aromatic quality as the turkey cooks. Their cut size is practical for fitting inside the bird. They aren’t bread stuffing, so the cavity stays loosely filled rather than packed.
From Bag Prep to the Final Temperature Check
Set Up the Oven Bag and Pan
Heat the oven to 350°F and position a rack low enough that the bag won’t touch the oven’s sides, top, or heating element. Sprinkle the flour into the turkey-size oven bag, hold the opening closed, and shake until the inside is coated. Set the bag in a large roasting pan about 16 by 13 inches. Keeping the bag supported by the pan makes it easier to fill without dragging it across the counter.
Butter and Season the Thawed Turkey
Pat the completely thawed turkey dry, with the giblets and neck already removed. Rub the softened butter over the outside, spreading it across the breast, legs, and sides rather than leaving thick patches. Season all over with kosher salt, black pepper, and dried thyme. If the butter is cold and firm, it will tug at the skin instead of coating it evenly.
Fill, Tie, and Vent the Bag
Put the quartered onion and celery pieces in the turkey cavity, then place the bird breast side up inside the bag. Gather the opening and close it with the included tie. Cut six half-inch slits across the top of the bag; keep the cuts on the upper surface rather than low on the sides. The bag should rest in the roasting pan with room to expand, not stretched tight around the turkey.
Roast, Check, and Rest
Roast for 2 to 2 1/2 hours. Insert a thermometer into the thickest part of the breast and the innermost part of the thigh, taking care not to touch bone; both readings need to reach 165°F. If one spot hasn’t reached that temperature, continue roasting and check again. Carefully cut the bag open, transfer the turkey to a carving board, and let it rest for 20 minutes before carving.
Two Simple Ways to Change This Oven-Bag Turkey
Make the flour coating gluten-free
Replace the all-purpose flour with the same amount of gluten-free all-purpose flour blend, then shake it around the bag’s interior as usual. This changes the bag coating, not the turkey’s seasoning or roasting method.
Keep the seasoning extra simple
Leave out the black pepper and dried thyme, keeping the butter and kosher salt. The turkey will taste more plainly savory, with less herbal character, and the roasting method stays the same.
Storage and Reheating
- Refrigerator: Carve the leftovers and refrigerate them in a covered container within 2 hours. They keep for 3 to 4 days; the meat will lose some of its just-roasted juiciness as it sits.
- Freezer: Freeze carved turkey in airtight portions for up to 2 to 3 months for best quality. Thaw it in the refrigerator before reheating.
- Reheating: Warm slices in a covered baking dish in a 325°F oven until the center reaches 165°F. Reheat only what you plan to eat, since repeated warming dries the meat out.
Questions That Come Up With an Oven-Bag Turkey
Turkey in an Oven Bag
Ingredients
Equipment
Method
- Heat the oven to 350°F.
- Position a rack low enough that the oven bag will not touch the oven’s sides, top, or heating element.
- Sprinkle the flour into the oven bag, hold the opening closed, and shake to coat the inside.
- Set the bag in a large roasting pan about 16x13 inches.
- Rub the butter over the turkey.
- Season all over with the salt, pepper, and thyme.
- Put the onion and celery in the turkey cavity.
- Place the turkey breast side up in the bag and close it with the included tie.
- Cut six 1/2-inch slits in the top of the bag.
- Roast for 2 to 2 1/2 hours, until a thermometer inserted into the thickest part of the breast and the innermost part of the thigh, without touching bone, reads 165°F.
- Carefully cut the bag open and transfer the turkey to a carving board.
- Let it rest for 20 minutes before carving.