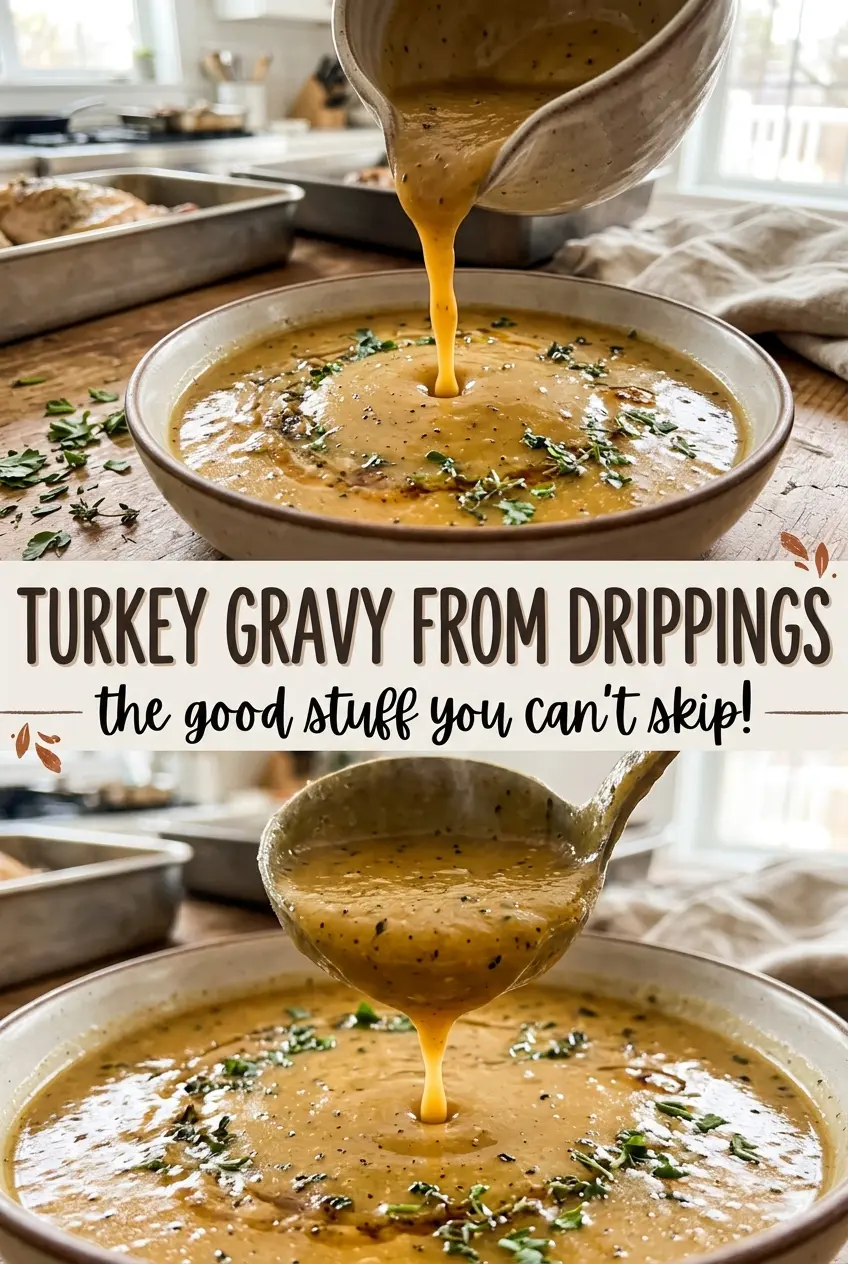
When the roasting pan comes off the counter, the drippings look like one dark, oily puddle—but they hold the flavor that makes homemade turkey gravy taste like it belongs beside the bird. I strain them, give the fat and juices a few minutes to separate, then turn them into a smooth gravy with a simple roux. This turkey gravy from drippings serves eight and uses low-sodium chicken broth to bring the liquid to a reliable total.
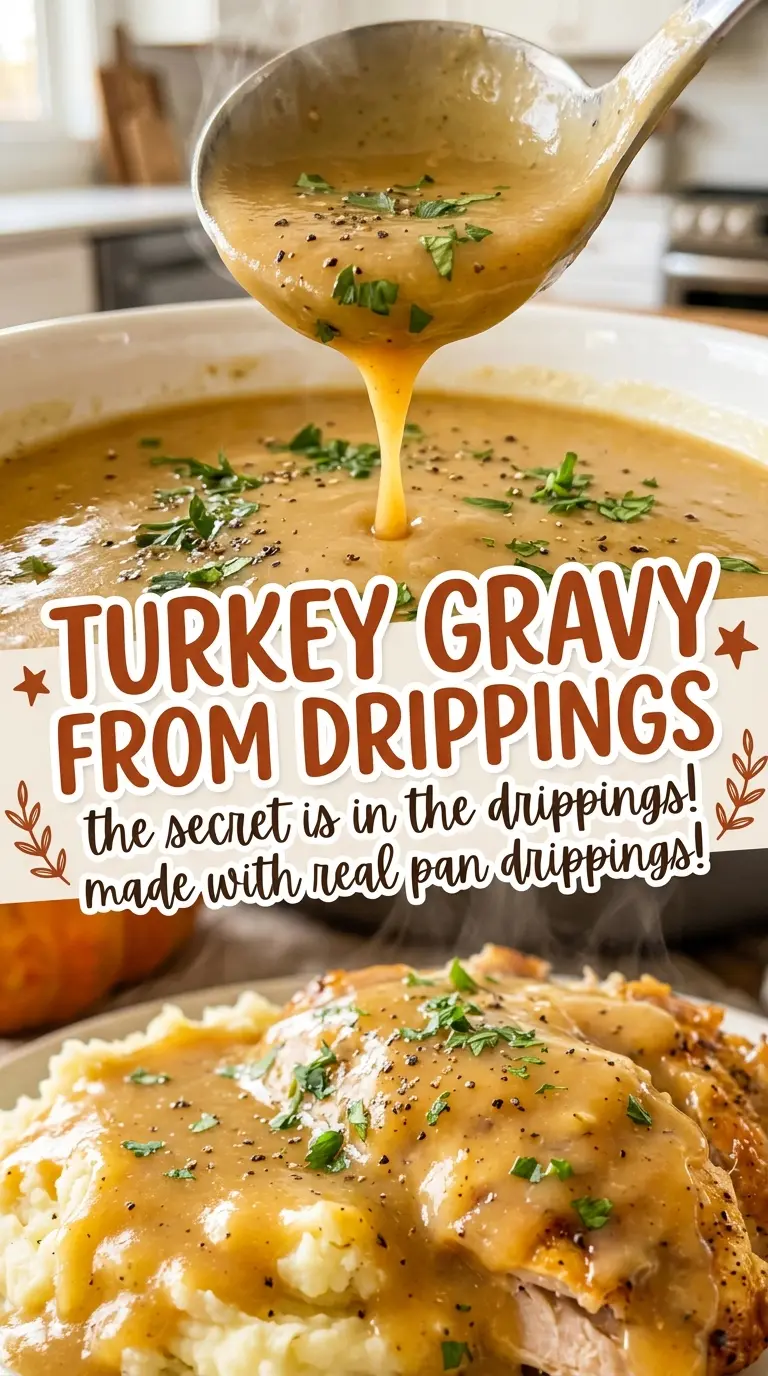
I like this method because it uses what’s already in the pan without asking the drippings to do more than they can. The fat builds the roux, while the defatted juices bring concentrated turkey flavor; broth fills in the rest. Keep the whisk moving as the liquid goes in, then let the gravy simmer until it coats the back of a spoon. It comes out savory, glossy, and ready to serve hot.
Kitchen Note
A smooth roux starts with steady whisking, not high heat. I keep the whisk moving for the full 2 to 3 minutes and look for an even, lightly golden color before adding any liquid.
Save this turkey gravy from drippings for a smooth, savory finish that puts the roasting-pan juices to work.
Why the 4-Cup Liquid Target Keeps This Gravy Predictable
Turkey drippings vary from one roasting pan to the next. Some birds leave plenty of flavorful juices; others leave only a little once the fat is separated. Building the gravy around a set total volume solves that unevenness. You use the defatted drippings you have, then add low-sodium chicken broth until the mixture reaches four cups.
That fixed liquid amount gives the flour-and-fat roux a consistent job to do. Too much liquid for the roux and the gravy stays loose; too little and it turns pasty or overly thick. Here, the drippings can make up anywhere from one to four cups of the liquid, so you can lean into their roasted turkey flavor without letting the quantity in the pan dictate the whole batch. The broth is there to complete the measure, not to compete with the turkey.
There’s a practical benefit, too: you don’t need to guess whether the pan produced enough juice for eight servings. Measure the separated fat for the roux, then measure the combined drippings and broth as one liquid mixture. The gravy thickens in a steady, familiar way and still tastes distinctly of turkey.
Why Turkey Fat and Low-Sodium Broth Work Together
- Turkey drippings fat — This is the rich base of the roux and brings roasted turkey flavor through the whole gravy. Straining first keeps the drippings separate enough to measure the fat and juices for their different jobs.
- Unsalted butter — Use it only to make up any shortfall if the drippings don’t provide enough fat. Unsalted butter is the better choice here because it doesn’t add extra salt before you season the finished gravy.
- All-purpose flour — Flour thickens the liquid as the gravy simmers and gives the roux its body. Regular all-purpose flour is the straightforward choice; whisk it into the melted fat until no dry pockets remain.
- Defatted drippings and low-sodium chicken broth — The drippings bring the turkey character, and low-sodium broth supplies the rest of the liquid without making the final seasoning harder to control. A standard low-sodium broth works well; the roasted juices are where the distinctive flavor comes from.
- Kosher salt and black pepper — These finish the gravy rather than masking the drippings. Add them after the gravy has thickened so you can taste the finished base before serving.
From Separated Drippings to Spoon-Coating Gravy
Separate the Fat from the Juices
Strain the turkey drippings into a heatproof measuring cup and let them stand until the fat rises and separates, about 5 minutes. Measure the fat, then add unsalted butter as needed to reach the amount for the roux. Combine the defatted juices with enough low-sodium chicken broth to make four cups total; keeping the fat and liquid distinct makes each part easy to measure accurately.
Cook a Lightly Golden Roux
Melt the measured fat in a 3-quart saucepan over medium heat, then whisk in the flour. Keep whisking constantly for 2 to 3 minutes, until the mixture is smooth and lightly golden. If you see dry flour or pale streaks, keep whisking rather than adding the liquid early; an evenly cooked roux gives the gravy a smooth start.
Whisk in the Drippings Mixture
Pour in the drippings mixture gradually while whisking so it blends into the roux instead of forming lumps. Bring the gravy to a gentle simmer, then cook for 5 to 8 minutes, whisking often. The liquid should turn glossy and thicken enough to coat the back of a spoon; if it still runs off like broth, give it time at the gentle simmer.
Season and Serve Hot
Stir in the kosher salt and black pepper after the gravy has thickened. Whisk until the seasoning is evenly distributed, then serve the gravy hot. The finished texture should cling lightly to a spoon while still pouring smoothly over the food.
How to Shift the Turkey Flavor Without Losing the Gravy’s Balance
For a more pronounced turkey taste
Use more of the defatted turkey juices in the four-cup liquid mixture, going as high as four cups. The gravy will taste more directly of the roasted turkey, and you’ll need less or no chicken broth to complete the measure.
For a milder, broth-led gravy
Use one cup of defatted drippings and fill the rest of the four-cup liquid measure with low-sodium chicken broth. You’ll still get roasted turkey flavor, but it won’t be as concentrated as a batch made with more pan juices.
For a gluten-free version
Replace the all-purpose flour with the same volume of a cup-for-cup gluten-free flour blend formulated for cooking and sauces. Whisk it into the fat and cook until smooth and lightly golden; the finished gravy may have a slightly different texture from one made with wheat flour.
Storage and Reheating
- Refrigerator: Store in a covered container for 3 to 4 days. The gravy will thicken as it chills.
- Freezer: Freeze in an airtight container for up to 3 months. Thaw it in the refrigerator before reheating; the texture may look separated at first.
- Reheating: Warm it gently in a saucepan, whisking often, until it reaches 165°F. If it’s too thick, whisk in a small splash of low-sodium chicken broth; high heat without stirring can make the texture uneven.
Questions That Come Up While the Gravy Is on the Stove
Turkey Gravy from Drippings
Ingredients
Method
- Strain the turkey drippings into a heatproof measuring cup and let stand until the fat separates, about 5 minutes. Measure 1/2 cup fat, adding unsalted butter as needed to make 1/2 cup total, and combine the defatted juices with enough low-sodium chicken broth to make 4 cups.
- Melt the fat in a 3-quart saucepan over medium heat, whisk in the flour, and cook for 2 to 3 minutes, whisking constantly, until the roux is smooth and lightly golden.
- Gradually whisk in the drippings mixture and bring to a gentle simmer; cook for 5 to 8 minutes, whisking often, until the gravy thickens and coats the back of a spoon.
- Stir in the salt and pepper, then serve hot.