The first thing you notice is how quickly the cut sides of butternut squash start to soften once they hit a hot oven. If the pieces are piled together, though, they steam against one another and come out tender without those browned edges that make roasted squash worth turning the oven on for. I spread the cubes out before roasting, and that small bit of breathing room makes a clear difference.
For this version, the squash is peeled and cut into even 1-inch cubes, then coated with olive oil, kosher salt, and black pepper. That size gives the pieces time to become tender inside while their corners take on color. Turning them once halfway through helps the sides brown more evenly, so each bite has a soft center and a little roasted edge.
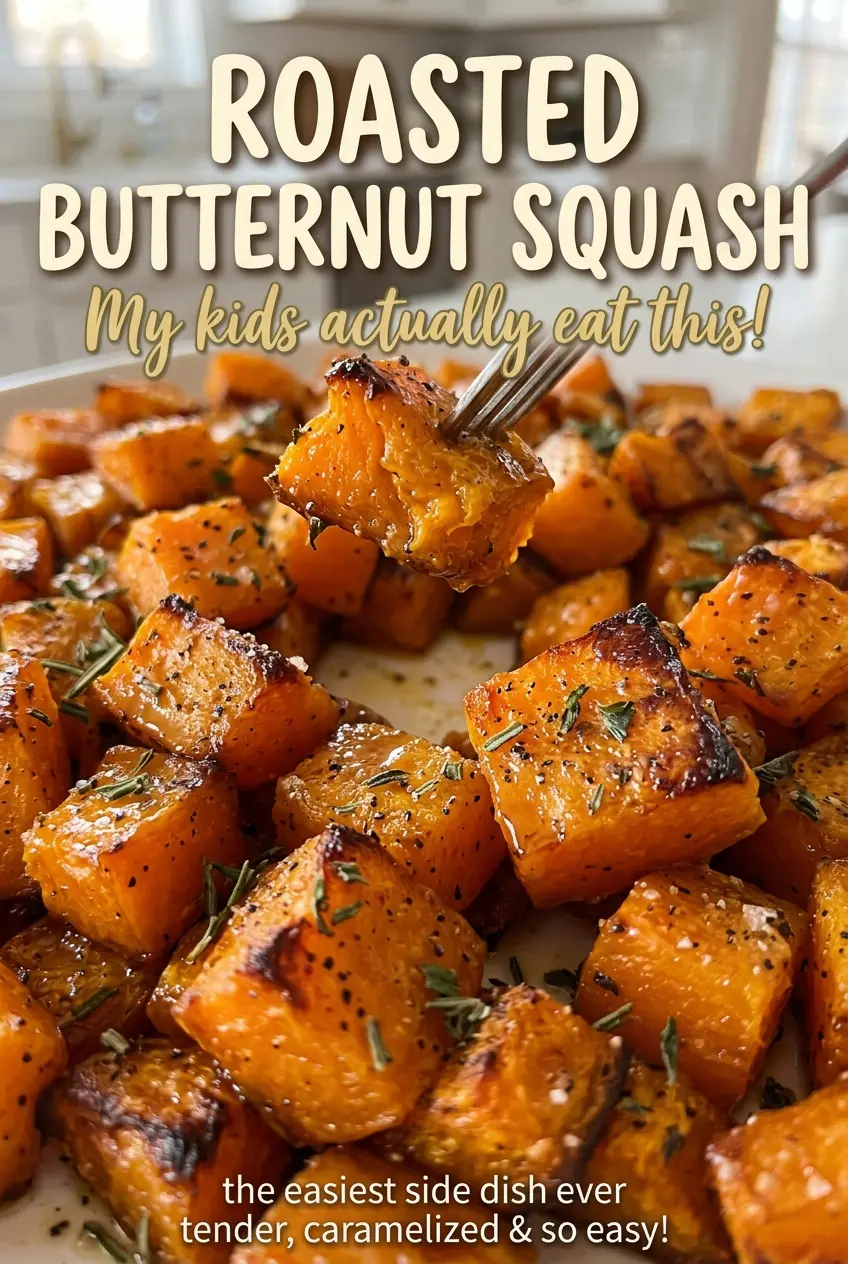
Roasted butternut squash is a straightforward side dish, but the contrast between tender centers and browned edges depends on the details: evenly cut pieces, a single layer, and enough oven time. The finished cubes are savory, gently sweet, and ready to serve straight from the pan.
Kitchen Note
Cut the squash into pieces that are close to the same 1-inch size. When some cubes are much smaller than others, the little ones can get soft before the larger ones are tender.
Save this roasted butternut squash for a simple side with tender centers and golden, browned edges.
Why Butternut Squash Turns Pale When the Cubes Touch
Squash has plenty of moisture, and a hot oven needs room around each piece to drive that moisture away. When the cubes touch or overlap, the damp air gets trapped between them. Instead of browning, the squash softens in its own steam. You may still get a tender side dish, but the edges stay pale and the flavor tastes less roasted.
Spread the pieces in one layer on a rimmed baking sheet, leaving a little space wherever you can. If the squash is crowded, use another baking sheet rather than stacking the cubes. The olive oil helps the surfaces roast, but it can’t make up for pieces pressed together. Turn the squash once halfway through so the sides that were against the pan get a chance to brown, too.
Color is a useful cue, not just decoration: browned spots bring a deeper, more concentrated taste alongside the squash’s natural sweetness. The goal isn’t to make every face dark. Look for tender pieces with some golden-brown edges, and take care not to mistake a crowded, pale pan for a problem that needs more oil.
What the Squash, Oil, and Seasoning Each Bring

- Butternut squash — Choose a firm squash without soft spots; the flesh should feel solid as you peel and cube it. Its sweet, dense flesh becomes tender without falling apart when cut into even pieces. Peeling and removing the seeds gives you clean, uniform cubes that roast at a similar pace.
- Olive oil — A standard olive oil works well here; there’s no need to reach for an especially expensive bottle for roasting. It lightly coats the cut surfaces and helps the edges brown rather than dry out. Toss until the pieces look lightly slick all over, not pooled in oil at the bottom of the bowl.
- Kosher salt and ground black pepper — Salt brings the squash’s sweetness into balance, while black pepper adds a mild savory bite. Distribute both through the bowl as you toss so the seasoning doesn’t collect on only a few cubes. Since the ingredient list uses ground pepper, there’s no special grinding or prep to do.
Roasting the Cubes Until the Edges Brown
Set up the hot pan
Heat the oven to 425°F and line a rimmed baking sheet with parchment paper before you start roasting. The oven needs to be fully preheated so the squash begins cooking as soon as the pan goes in. A rimmed sheet contains the cubes and their oil as you turn them. If the oven is still heating, give it time rather than putting the squash into a cooler oven and guessing at the result.
Coat each piece evenly
Put the cubed squash in a large bowl with the olive oil, kosher salt, and ground black pepper. Toss until the pieces are evenly coated; look for a light sheen on the cut surfaces. If seasoning stays at the bottom of the bowl, keep tossing so it reaches the squash instead. The oil should coat the cubes, not leave them swimming.
Roast, turn, and check for tenderness
Arrange the squash in a single layer on the lined sheet and roast for 25 to 35 minutes, turning it once halfway through. The cubes should look browned in spots and feel tender when pierced. Start checking toward the shorter end of the time range, since ovens and the exact shape of the cubes can vary. If the centers are still firm, keep roasting until tender and browned at the edges.
Two Simple Ways to Change the Finished Squash
Make it oil-free
Leave out the olive oil and roast the seasoned cubes on the parchment-lined sheet. The squash will still soften, but the surfaces won’t brown as readily and may have a drier texture. Keep the cubes in one layer and watch the edges closely as they roast.
Turn the cubes into a rustic mash
After roasting, press the tender squash with a fork until it reaches the texture you like. Some browned pieces will blend in, while a few larger bits give the mash a little texture. This changes the side from distinct roasted cubes to a soft, rustic mash without adding another ingredient.
Storage and Reheating
- Refrigerator: Store cooled squash in an airtight container for 3 to 4 days. The cubes soften as they sit, so the edges won’t stay as crisp as they were fresh from the oven.
- Freezer: Freeze the cooled cubes in a freezer-safe container for up to 3 months. Thawed squash will be softer, which works especially well if you plan to mash it.
- Reheating: Warm the squash in the microwave in short bursts, stirring gently between them, until heated through. Avoid prolonged heating, which can make the soft cubes break apart.
Questions That Come Up Before the Squash Goes in the Oven
Roasted Butternut Squash
Ingredients
Equipment
Method
- Preheat the oven to 425°F.
- Line a rimmed baking sheet with parchment paper.
- Toss the squash with the olive oil, salt, and pepper in a large bowl until evenly coated.
- Spread the squash in a single layer on the baking sheet.
- Roast for 25 to 35 minutes, turning once halfway through, until tender and browned at the edges.