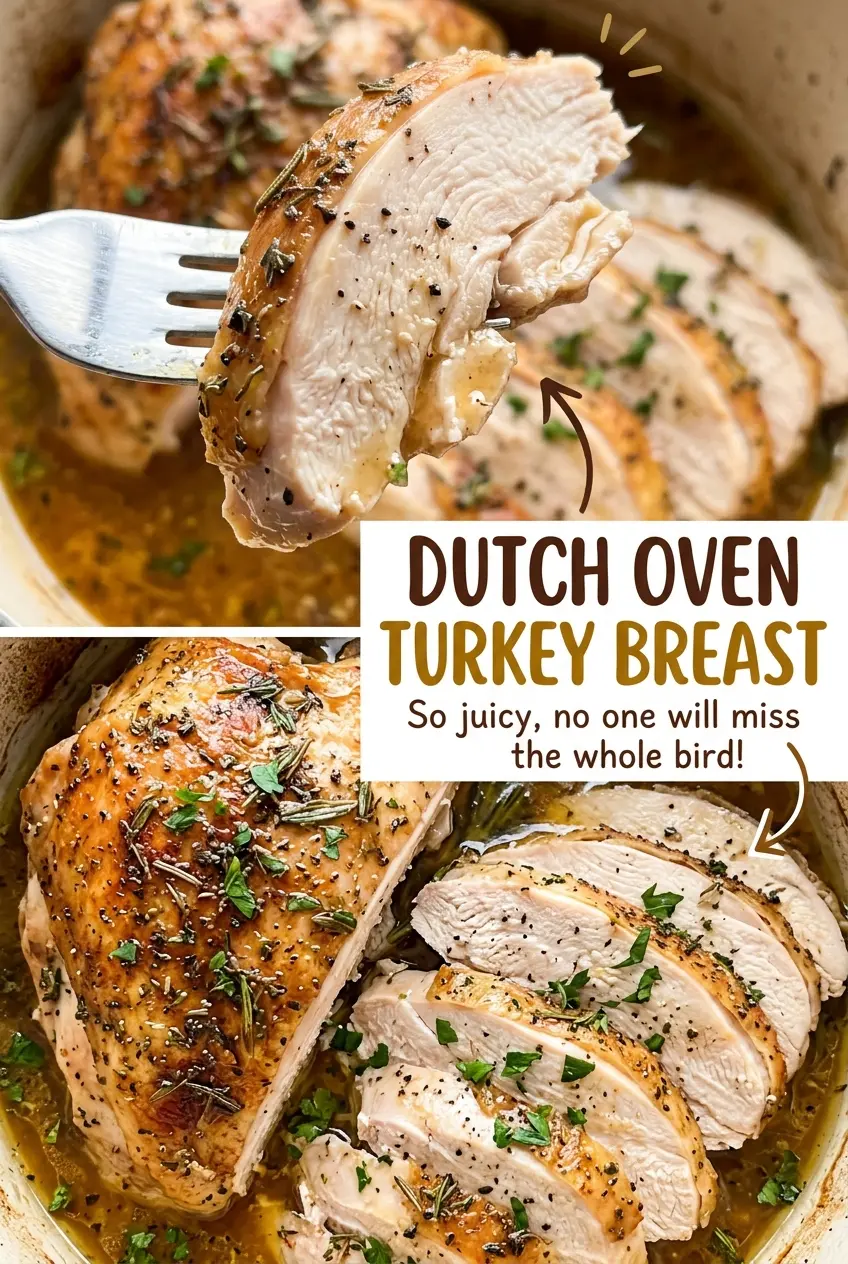
The skin can look beautifully browned while the thickest part of the breast is still catching up. That’s why I don’t judge a roast turkey breast by color alone. For this Dutch Oven Turkey Breast, the thermometer tells me when it’s ready, and the vegetables underneath keep the meat lifted above the broth instead of sitting in it.
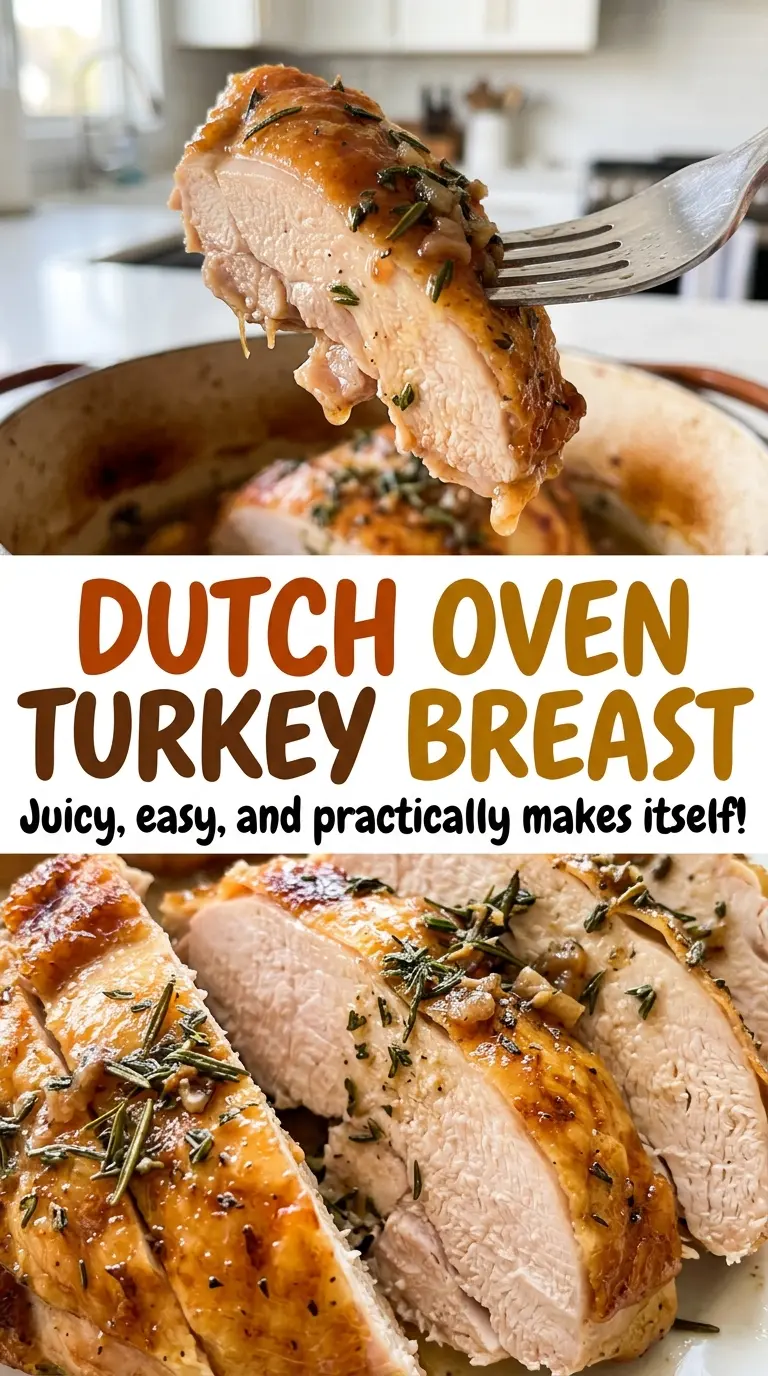
Bone-in, skin-on turkey gives you a little more protection against drying out, and softened butter seasoned with garlic and thyme goes both under the skin and over it. The Dutch oven holds the broth and vegetables close around the roast while it cooks uncovered, so the skin can brown and the pan still collects savory juices. After a short rest, the breast is ready to carve into tender slices.
Kitchen Note
Spread the butter under the skin in a thin, even layer rather than leaving it in one mound. That way, the garlic and thyme reach more of the breast instead of gathering in a single spot.
Save this Dutch Oven Turkey Breast for a golden-skinned roast with garlic-thyme butter and tender slices for the table.
Why the vegetables belong under the turkey, not beside it
The onion, carrots, and celery do more than add flavor to the bottom of the pot. They form a sturdy bed that holds the turkey above the broth. That matters because the breast needs to roast, not sit in a shallow pool of liquid. The broth stays underneath, where it mingles with the turkey drippings and softens the vegetables as everything cooks.
There’s a useful balance here: the Dutch oven gives the pan a close, protected cooking environment, but the turkey roasts uncovered. The skin is exposed to the oven’s heat and can brown, while the vegetables and broth keep the base from becoming dry and bare. Don’t expect the carrots and celery to come out crisp; they’re there to support the roast and flavor the pan juices. Keeping the turkey skin-side up also leaves the skin exposed instead of pressed against the liquid below.
A bone-in breast gives the vegetables a practical job, too. They create space beneath the turkey without needing a separate rack, and the Dutch oven keeps the broth contained around them. It’s a straightforward setup, but arranging those pieces before the turkey goes in makes the whole roast easier to manage.
Butter, broth, and the turkey details that shape this roast
- Bone-in, skin-on turkey breast — The bone and skin are part of what makes this roast work: the skin browns, and the breast has more protection as it cooks. Start with a thawed breast and pat it dry; a wet surface makes it harder for the skin to brown. Choose a breast in the listed size range so the cooking window fits.
- Softened unsalted butter — Soft butter combines easily with the minced garlic and dried thyme and spreads under the skin without needing to be melted. Unsalted butter lets the measured kosher salt season the turkey without adding extra salt from the butter. A basic store-brand butter works well here; it doesn’t need to be a specialty product.
- Garlic and dried thyme — These season the butter that coats both the meat beneath the skin and the outside. Mince the garlic finely so it spreads through the butter rather than staying in large pieces. Dried thyme is the version used here; swapping in fresh herbs would change the seasoning balance.
- Onion, carrots, celery, and low-sodium chicken broth — The vegetables lift the turkey and flavor the liquid beneath it. Cut the carrots and celery into even 2-inch pieces so they make a stable bed. Low-sodium broth gives you savory pan juices without adding as much salt as regular broth would.
From a dry skin to a rested, carveable breast
Dry the surface before seasoning
Heat the oven to 350°F, then pat the thawed turkey breast dry with paper towels. Pay attention to the skin, where moisture can slow browning. The surface should feel dry rather than slick. This is a small bit of prep, but it gives the skin a better chance to color during the uncovered roast.
Work the seasoned butter under the skin
Stir the softened butter with the minced garlic, dried thyme, kosher salt, and black pepper until evenly combined. Gently loosen the skin with your fingers, taking care not to tear it. Spread half the butter mixture beneath the skin, then rub the remaining half over the outside. If the skin resists, ease it loose gradually rather than pulling hard.
Build the vegetable bed in the Dutch oven
Arrange the quartered onion, carrot pieces, and celery pieces in the 6-quart Dutch oven. Pour in the chicken broth, then set the turkey breast on top with the skin facing up. Keep the vegetables underneath the breast so it sits above the liquid. The broth belongs at the bottom of the pot, not poured over the skin.
Roast to temperature, then let the meat rest
Roast uncovered for 1 1/2 to 2 hours, checking the thickest part of the breast without letting the thermometer touch bone. It’s ready when that reading reaches 165°F; browning alone won’t tell you what’s happening in the center. If the skin gets dark before the breast is ready, tent it loosely with foil. Transfer the turkey to a cutting board, tent it loosely again, and let it rest for 20 minutes before carving.
Two practical ways to adapt the seasoning
A dairy-free roast without butter
For a dairy-free version, leave out the butter and rub the garlic, thyme, salt, and pepper directly over the turkey skin and beneath the loosened skin. The breast will still roast over the same vegetables and broth, but the skin won’t have the same rich finish or even browning that butter provides.
A gentler, garlic-free seasoning
Leave out the minced garlic and mix the butter with the thyme, salt, and pepper instead. Spread it beneath the skin and over the outside in the same way. You’ll keep the savory herb-and-butter coating, with a milder flavor and no garlic pieces on the skin.
Storage and Reheating
- Refrigerator: Store carved turkey in a covered container for 3 to 4 days. The skin softens in the refrigerator, while the sliced meat stays tenderest when kept with a little pan juice.
- Freezer: Freeze carved portions in an airtight container for up to 2 to 3 months for best quality. Thaw them in the refrigerator before reheating.
- Reheating: Warm slices in a covered oven-safe dish with a spoonful of pan juices until hot throughout. Reheating uncovered or for too long can dry out the lean breast meat.
Questions that come up when roasting a turkey breast
Dutch Oven Turkey Breast
Ingredients
Equipment
Method
- Heat the oven to 350°F.
- Pat the turkey breast dry with paper towels.
- In a small bowl, mix the butter, garlic, thyme, salt, and pepper.
- Gently loosen the turkey skin.
- Spread half the butter mixture underneath the skin.
- Rub the rest of the butter mixture over the skin.
- Put the onion, carrots, and celery in a 6-quart Dutch oven.
- Pour in the broth.
- Set the turkey breast skin-side up on the vegetables.
- Roast uncovered for 1 1/2 to 2 hours, until a thermometer inserted into the thickest part of the breast without touching bone reads 165°F.
- Tent loosely with foil if the skin browns too quickly.
- Transfer the turkey to a cutting board.
- Tent loosely with foil.
- Let it rest for 20 minutes before carving.