When butter softens diced onion and celery in the skillet, the kitchen starts smelling like Thanksgiving before a single bread cube hits the bowl. That gentle, savory base gives Classic Thanksgiving Stuffing from Scratch its familiar flavor, while dried sage and thyme get a brief turn in the warm butter so they taste fragrant instead of dusty.
I like this stuffing because the bread stays at the center of the dish. There’s no need to hide it under a heavy mix of extras; the vegetables, herbs, broth, and eggs give each cube enough flavor and structure to stand on its own.
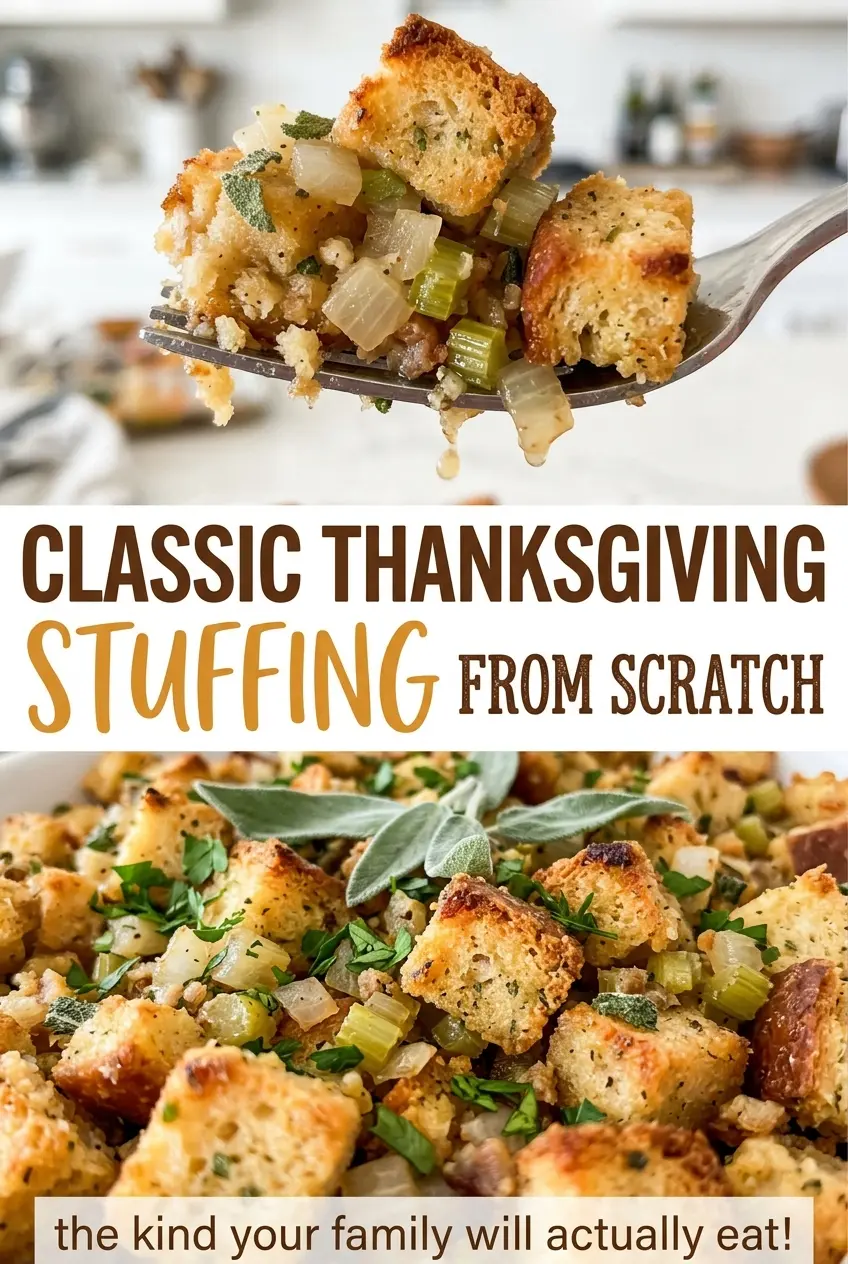
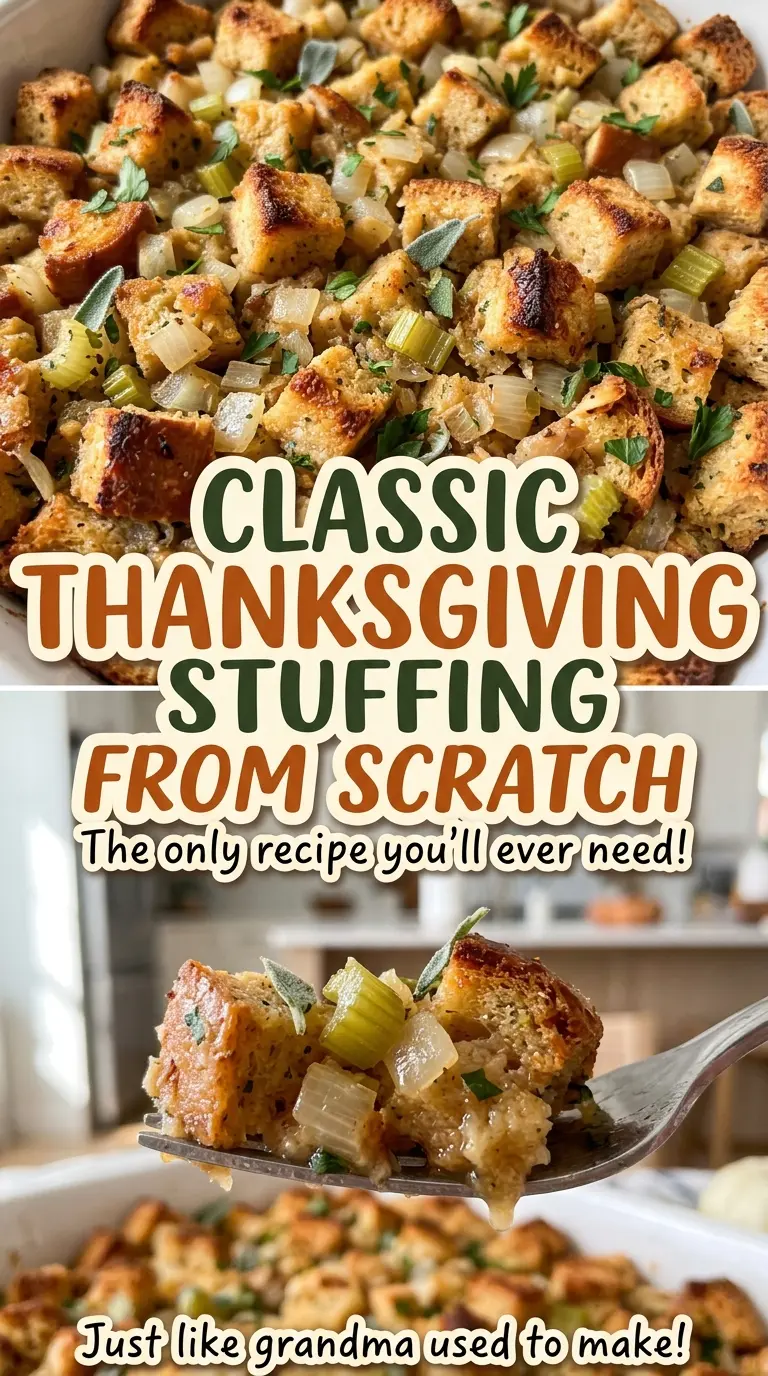
The finished pan has a golden top and a tender middle, with little pockets where the bread has soaked up the seasoned broth. It’s the kind of straightforward, from-scratch side that earns its place beside the turkey without asking for a complicated shopping list.
Kitchen Note
Keep the foil snug against the dish for the covered part of the bake. A loose cover lets the top dry out early, before the center has had time to set.
Save this classic Thanksgiving stuffing for its golden top, tender center, and buttery sage-and-thyme flavor.
Why the Broth Alone Won’t Give These Cubes Their Tender Set
Broth moistens the bread, but the eggs do a different job: they set as the stuffing bakes and help hold the cubes together. That’s what gives the center a tender, cohesive texture instead of leaving you with seasoned bread that falls apart as soon as you scoop it.
The balance matters. Each cube should be moistened, but the bread shouldn’t be sitting in a puddle at the bottom of the bowl. Toss gently until the liquid is spread through the bread, then let the oven do the setting. The eggs firm up in the heat, while the broth keeps the interior from baking into a dry mass. You’ll still get distinct cubes and a browned top; the middle just has enough structure to serve neatly.
That’s also why I whisk the eggs into the broth before it goes over the bread. It distributes the binder throughout the pan instead of leaving streaks of egg in one spot and dry bread in another.
White Sandwich Bread Is the Starting Point, Not an Afterthought
- White sandwich bread — Its mild flavor lets the herbs and vegetables come through, and its soft crumb takes up the broth evenly. A basic store-brand loaf works well; you don’t need artisan bread here. Cut the cubes evenly so they dry at a similar pace.
- Unsalted butter — Butter carries the flavor of the onion, celery, and dried herbs through the whole pan. Unsalted butter gives you control over the seasoning, especially alongside broth and kosher salt. Regular butter is fine; specialty butter isn’t needed.
- Yellow onion and celery — Together they make the aromatic base, with onion turning sweet as it softens and celery bringing a gentle savory note. Choose firm celery and an onion that feels heavy for its size. Dice both evenly so neither is still crunchy when the mixture goes onto the bread.
- Dried rubbed sage and dried thyme — These classic dried herbs are suited to the buttery vegetable base and have time to bloom during cooking. Rubbed sage has a softer, leafier texture than finely ground sage, so it distributes well without turning the mixture dusty. Keep the dried herbs fresh-smelling; old jars lose their aroma.
- Low-sodium chicken broth and eggs — Low-sodium broth lets the onion, herbs, and salt stay in balance, while the eggs help the center set. Use broth you’d be happy to sip; an inexpensive carton is perfectly fine if it tastes clean rather than overly salty.
- Fresh parsley — Chopped parsley adds a bright, green note to the broth mixture. Look for leaves that are crisp rather than wilted, and chop them shortly before mixing so they keep their fresh flavor.
The Staged Bake That Keeps the Top Crisp and the Middle Tender
Dry the Bread Without Browning It
Heat the oven to 300°F and spread the bread cubes in a single layer across two rimmed baking sheets. Bake for 30 to 40 minutes, turning the cubes once. They’re ready when they feel dry and crisp, but still look pale; browned edges can make the finished stuffing taste too toasted.
Soften the Vegetables and Wake Up the Herbs
Grease a 9×13-inch baking dish with butter or cooking spray, then heat the oven to 350°F. Melt the butter in a large skillet over medium heat and cook the onion and celery for 8 to 10 minutes, until softened. Stir in the sage, thyme, salt, and pepper, and cook for 1 minute. The vegetables should be tender, not browned or crisp.
Moisten the Cubes Evenly
Put the dried bread in a large bowl and scrape the vegetable mixture over it. In a separate medium bowl, whisk the broth and eggs, then stir in the parsley. Pour this over the bread and toss gently until the cubes are evenly moistened; if you stir hard, you’ll break them up. Transfer the mixture to the prepared baking dish.
Cover, Brown, and Let the Center Set
Cover the dish tightly with foil and bake for 25 minutes. Remove the foil and bake for another 15 to 20 minutes, until the top is golden and the center reaches 160°F. If the top is pale, give it the full uncovered baking time and check the center before serving. Let the stuffing rest for 10 minutes so the middle settles before you scoop it.
Two Smart Swaps Without Losing the Shape of the Dish
A Gluten-Free Loaf That Still Holds Together
Use a 1-pound loaf of gluten-free white sandwich bread in place of the regular white loaf. Choose a sturdy sandwich-style bread and dry the cubes until crisp; gluten-free bread can be more delicate, so toss it gently with the broth mixture. The flavor stays familiar, though the finished cubes may have a softer, more fragile texture.
A Vegetarian Pan with Vegetable Broth
Swap the low-sodium chicken broth for low-sodium vegetable broth. It keeps the stuffing moist and savory while making the dish vegetarian; the flavor will be a little less poultry-forward. Keep the broth low-sodium so the seasoning stays balanced.
Storage and Reheating
- Refrigerator: Cool leftovers and refrigerate them within 2 hours. Store covered for 3 to 4 days; the top will soften as it sits.
- Freezer: Freeze cooked portions in an airtight container for up to 1 month for the best texture. Thaw in the refrigerator before reheating.
- Reheating: Cover with foil and warm in a 350°F oven until the center reaches 165°F. Uncover near the end if you’d like to crisp the top again; reheating uncovered the whole time can dry the bread.
Questions That Come Up Before the Stuffing Goes in the Oven
Classic Thanksgiving Stuffing from Scratch
Ingredients
Equipment
Method
- Heat the oven to 300°F.
- Spread the bread cubes in a single layer on 2 rimmed baking sheets and bake for 30 to 40 minutes, turning once, until dry and crisp but not browned.
- Grease a 9x13-inch baking dish with butter or cooking spray, then heat the oven to 350°F.
- Melt the butter in a large skillet over medium heat.
- Add the onion and celery and cook for 8 to 10 minutes until softened.
- Stir in the sage, thyme, salt, and pepper and cook for 1 minute.
- Put the dried bread cubes in a large bowl and scrape the vegetable mixture over them.
- Whisk the broth and eggs in a medium bowl.
- Stir in the parsley, then pour the mixture over the bread and toss gently until evenly moistened.
- Transfer the bread mixture to the prepared baking dish.
- Cover the dish tightly with foil and bake for 25 minutes.
- Remove the foil and bake for 15 to 20 minutes until the top is golden and the center reaches 160°F.
- Let the stuffing rest for 10 minutes before serving.