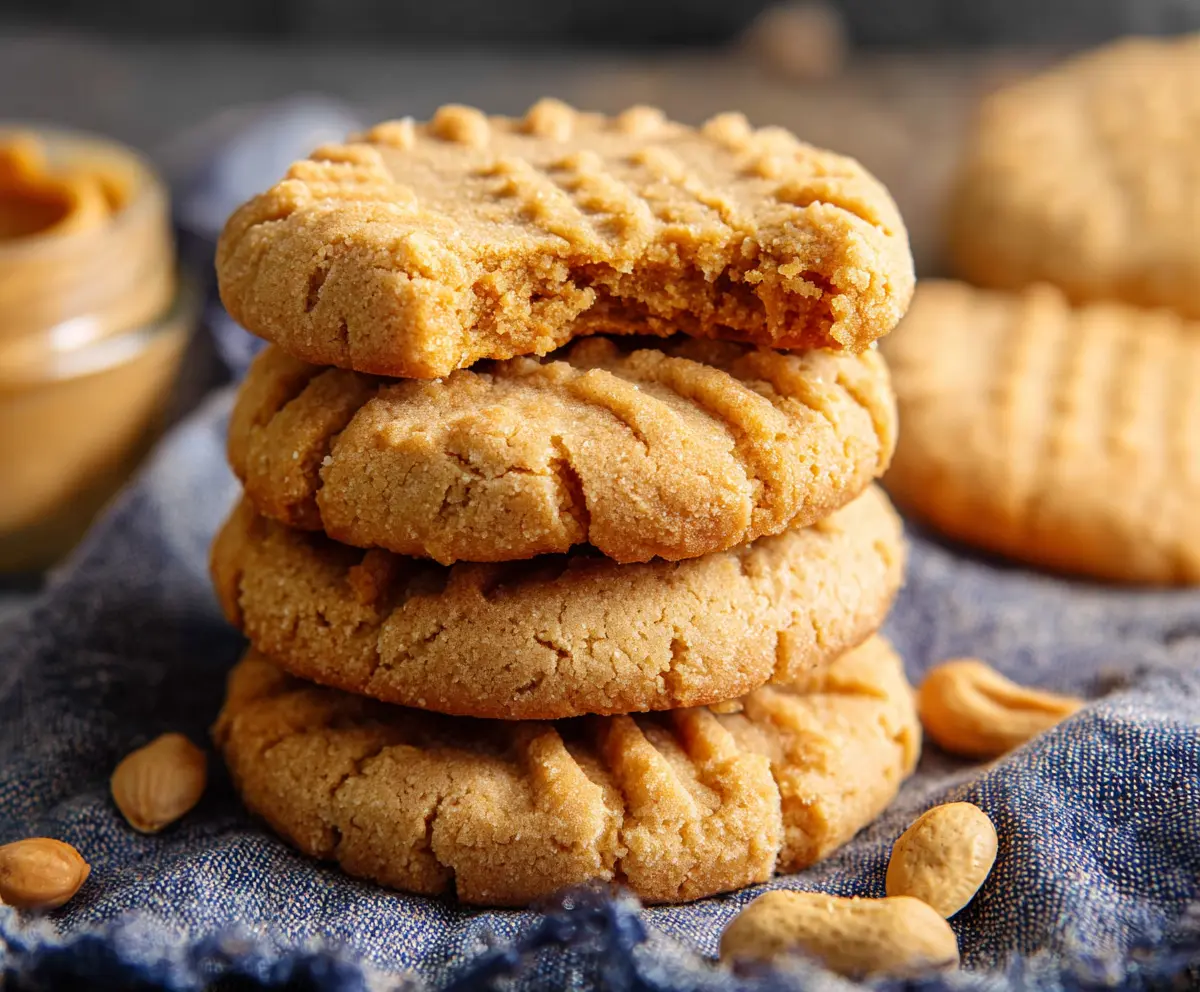
Peanut butter cookies are a classic treat that everyone seems to love. They’re soft in the middle with just the right bit of chewiness, packed with rich peanut butter flavor that’s both sweet and a little salty. Plus, there’s that signature criss-cross fork pattern on top that makes them instantly recognizable and super charming.
I love making peanut butter cookies because they come together quickly and don’t require a lot of fancy ingredients. One of my favorite parts is when the warm cookies come out of the oven, filling the kitchen with that amazing nutty aroma. I often sneak a bite right away, even if they’re still a little warm — it’s such a comforting little moment.
These cookies are perfect for snack time, sharing with friends, or just keeping on hand for whenever a sweet craving strikes. I like to pack a few in a little lunchbox or bring a batch to gatherings because they’re simple but endlessly delicious. If you haven’t tried making peanut butter cookies at home, I promise it’s worth it!
Key Ingredients & Substitutions
Creamy Peanut Butter: This is the star of the recipe and gives the cookies their rich, nutty flavor. If you want a bit of crunch, try using crunchy peanut butter instead. For a nut-free option, you can swap in sunflower seed butter.
Sugar: Granulated sugar helps the cookies get that classic texture and sweetness. You can use coconut sugar or brown sugar for a deeper flavor, but the texture may be a bit softer.
Egg: The egg binds the dough and adds moisture. If you need an egg substitute, a flax egg (1 tbsp ground flax + 3 tbsp water) works well here.
Baking Soda: This helps your cookies rise just enough to stay soft inside while getting light and slightly crispy edges. Don’t skip it!
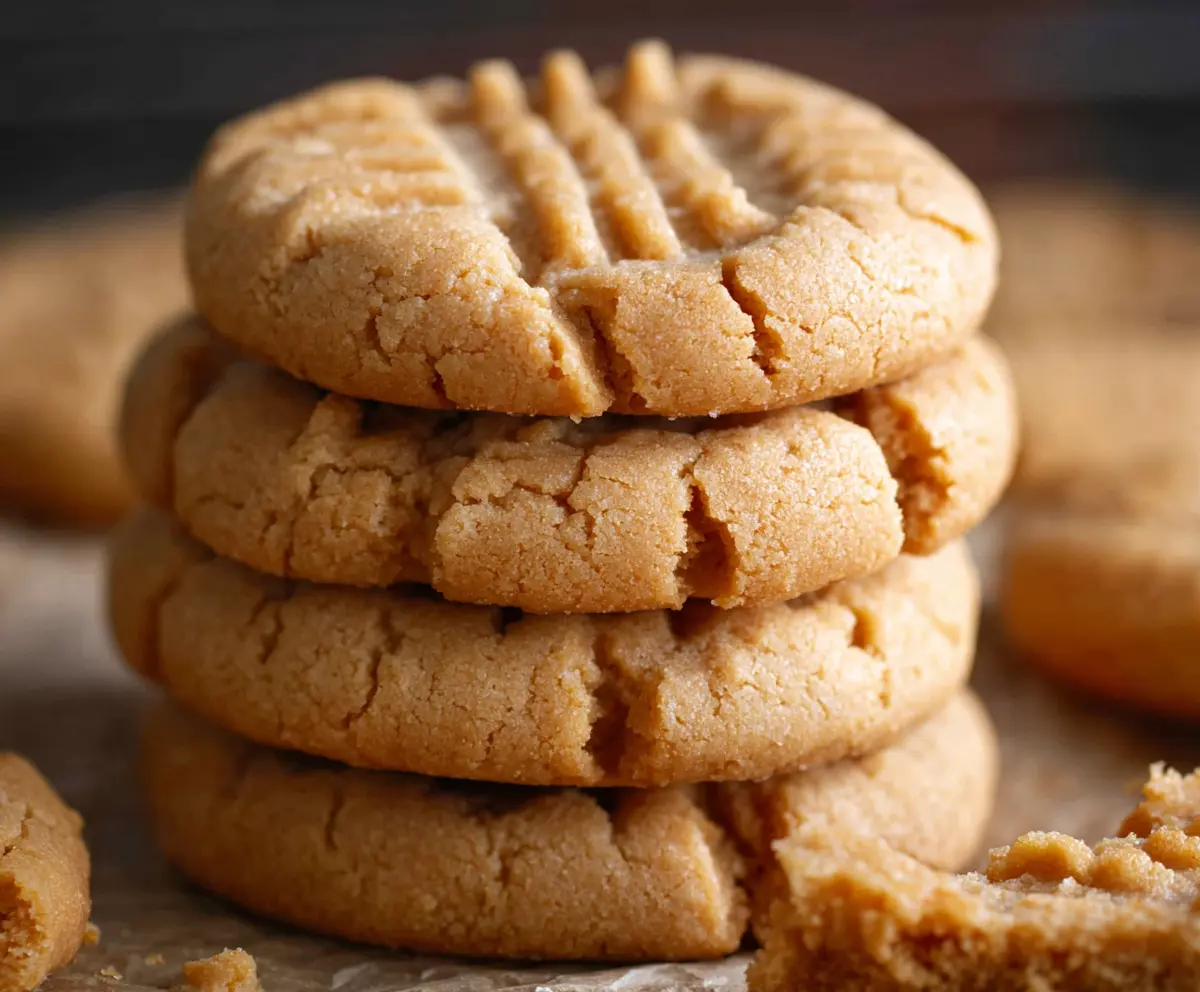
How Do You Get the Perfect Criss-Cross Pattern on Peanut Butter Cookies?
The criss-cross pattern not only looks great but also helps flatten the cookies so they bake evenly. Here’s how you can get it right every time:
- Roll your dough into smooth balls so the fork makes a clear impression.
- Lightly press one side of a fork onto the dough ball, then press the fork in the other direction to make a crosshatch pattern.
- If the dough sticks to the fork, dip the fork in sugar or flour before pressing.
- Don’t press too hard—just enough to flatten the cookies to about half their height.
This easy step gives peanut butter cookies their classic look and helps them bake evenly, so be sure to add it before popping the cookies in the oven!
Equipment You’ll Need
- Baking sheet – a flat, rimmed sheet helps the cookies bake evenly without spreading too much.
- Parchment paper or silicone baking mat – stops cookies from sticking and makes cleanup easy.
- Mixing bowl – just one medium bowl is enough to mix all ingredients together quickly.
- Spoon or spatula – for stirring the dough without making a big mess.
- Fork – the classic tool to create the criss-cross pattern on top of each cookie.
Flavor Variations & Add-Ins
- Add chocolate chips or chunks to the dough for a peanut butter and chocolate combo.
- Mix in chopped nuts like peanuts or walnuts for extra crunch.
- Swap creamy peanut butter with almond or cashew butter for a different nutty taste.
- Stir in mini white chocolate chips and dried cranberries for a sweet and tart twist.
How to Make Peanut Butter Cookies?
Ingredients You’ll Need:
- 1 cup creamy peanut butter
- 1 cup granulated sugar
- 1 large egg
- 1 teaspoon vanilla extract
- ½ teaspoon baking soda
- Optional pinch of salt (if peanut butter is unsalted)
How Much Time Will You Need?
This recipe takes about 10 minutes to prepare and 10-12 minutes to bake. Allow an extra 5 minutes of cooling time before enjoying your cookies. Altogether, you’ll have tasty peanut butter cookies ready in about 25 minutes.
Step-by-Step Instructions:
1. Get Ready:
Preheat your oven to 350°F (175°C). Line a baking sheet with parchment paper to stop the cookies from sticking and to make cleanup easier.
2. Make the Dough:
In a medium bowl, mix together the creamy peanut butter, sugar, egg, vanilla extract, baking soda, and salt (if you’re using it). Stir everything well until you get a smooth, soft dough.
3. Shape Your Cookies:
Roll the dough into small balls about 1 inch wide. Place each ball on your baking sheet, leaving about 2 inches between them so they have room to spread.
4. Make the Criss-Cross Pattern:
Flatten each ball gently with a fork by pressing down once, then turn the fork and press down again to create the classic criss-cross pattern on top of each cookie.
5. Bake to Perfection:
Put the baking sheet into your preheated oven and bake the cookies for 10 to 12 minutes. They should be lightly golden around the edges but still soft in the center.
6. Cool and Enjoy:
Taking the cookies out, let them cool on the baking sheet for about 5 minutes. Then, transfer them to a wire rack to cool completely. Once cooled, they’re ready to eat. Enjoy with a glass of milk or your favorite drink!
Can I Use Natural Peanut Butter Instead of Creamy?
Yes, you can! Just make sure to stir natural peanut butter well before measuring since the oil tends to separate. The cookies might be a bit crumblier, so chilling the dough before baking can help keep them together.
How Should I Store Leftover Peanut Butter Cookies?
Store them in an airtight container at room temperature for up to 5 days. For longer storage, freeze the cookies in a sealed container or freezer bag for up to 3 months. Let thaw at room temperature before eating.
Can I Add Chocolate Chips or Nuts?
Absolutely! Stir in ½ cup of chocolate chips, chopped peanuts, or walnuts into the dough before baking to add extra flavor and texture.
What if I Don’t Have Baking Soda?
Baking soda helps the cookies rise and become tender, so it’s best not to skip it. If you don’t have any, try looking for baking powder instead, but use about three times the amount and expect a slightly different texture.