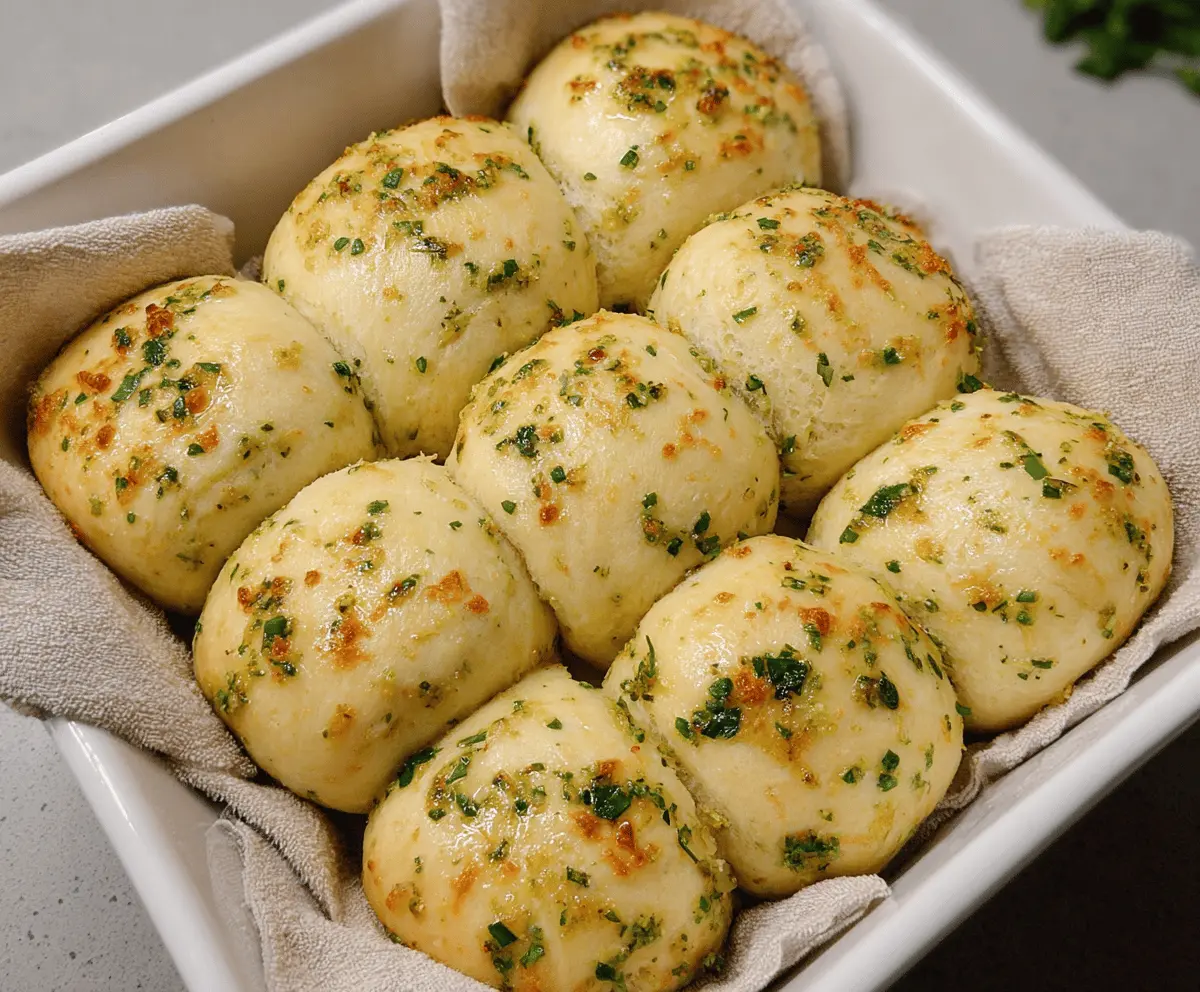
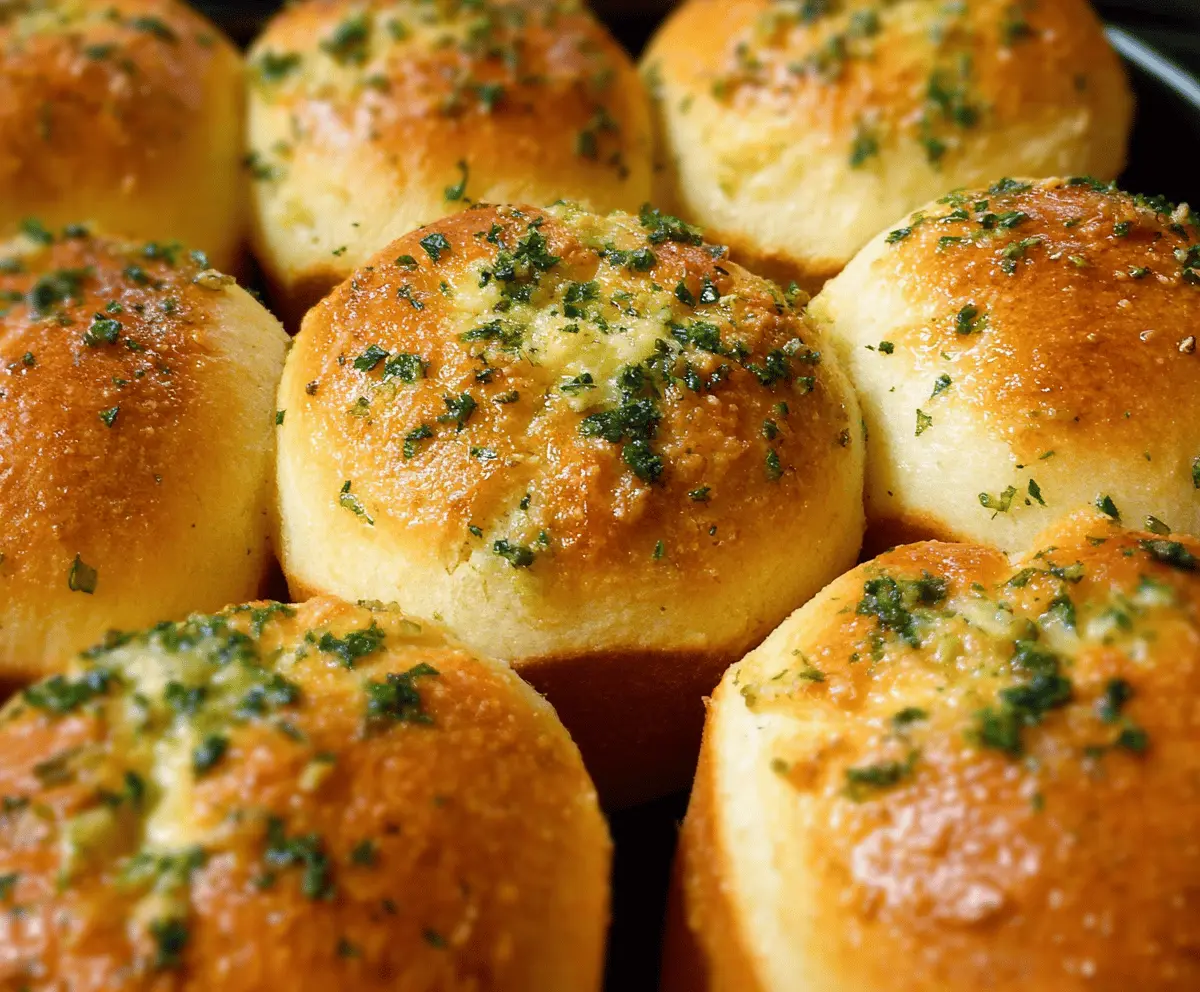
Garlic Bread Rolls are soft, warm, and bursting with that classic, buttery garlic flavor we all love. These rolls have a golden crust that’s just the right amount of crispy, and inside, they’re fluffy and perfectly tender. The smell of garlic and herbs baking together fills your kitchen and makes it impossible to wait until they’re ready.
I love making these rolls when I want a simple but wow-worthy side for dinner. They’re great with pasta, soup, or just on their own when you’re craving something comforting. My favorite trick is to brush them with a bit of extra garlic butter right after baking—it makes them even more irresistible. Plus, they’re perfect for sharing, which always makes me smile.
Whenever I serve these garlic bread rolls, everyone seems to disappear into their own little world of deliciousness. They remind me of cozy family dinners and get-togethers with friends, where the garlic aroma fills the air and the rolls disappear fast. If you’re looking for an easy way to add some homemade warmth to your meal, these rolls are the way to go.
Key Ingredients & Substitutions
All-purpose flour: This is great for a soft, chewy roll. For a healthier twist, you can swap half with whole wheat flour, but it might make the rolls a bit denser.
Yeast: Active dry yeast is typical for bread. If you’re short on time, instant yeast works too and doesn’t need proofing. Just mix it straight with the flour.
Butter: Unsalted butter gives rich flavor. For a dairy-free option, try melted coconut oil or vegan butter—they add a nice softness too.
Garlic: Fresh garlic is best for that bright, punchy taste. If you want a milder flavor, roasted garlic or garlic powder can work well.
Parsley: Fresh parsley adds freshness and color. If you don’t have it, dried parsley or even fresh basil can be a tasty substitute.
How Do You Get Soft, Fluffy Garlic Bread Rolls Every Time?
The key step is kneading and rising the dough properly:
- Knead well: Kneading develops the gluten, making the dough elastic and smooth. Aim for 8-10 minutes by hand, or 6-7 minutes with a mixer.
- First rise: Let the dough double in size in a warm spot. This usually takes 1 to 1 ½ hours. Be patient, as this helps the rolls get light and airy.
- Shaping: Make smooth, tight balls so the rolls rise evenly and keep their shape.
- Second rise: After shaping, let the rolls rise again until puffy. This second proof creates softness inside.
- Garlic butter brushing: Brush the rolls before and after baking with garlic butter for flavor and a golden top.
Following these tips will give you tender, fluffy garlic bread rolls that look and taste fantastic every time!
Equipment You’ll Need
- Mixing bowl – perfect for combining and proofing your dough in one place.
- Wooden spoon or dough scraper – helps mix and handle sticky dough easily.
- Stand mixer with dough hook (optional) – saves time and effort kneading by hand.
- Baking dish or pan – to hold the rolls while they rise and bake evenly.
- Pastry brush – for brushing the garlic butter onto rolls before and after baking.
Flavor Variations & Add-Ins
- Add shredded mozzarella or parmesan cheese on top before baking for cheesy garlic rolls.
- Mix in chopped rosemary or thyme with the garlic butter for an herby twist.
- Try swapping parsley with chopped basil or chives for different fresh flavors.
- Fold cooked crumbled bacon or diced olives into the dough to add a savory surprise.
How to Make Garlic Bread Rolls
Ingredients You’ll Need:
For the Dough:
- 3 ½ cups all-purpose flour
- 2 ¼ teaspoons active dry yeast (1 packet)
- 1 cup warm water (about 110°F/43°C)
- 2 tablespoons granulated sugar
- 2 tablespoons unsalted butter, melted (plus extra for garlic butter)
- 1 teaspoon salt
- ¼ cup whole milk, warmed
For the Garlic Butter:
- 4-5 cloves garlic, finely minced
- 3 tablespoons fresh parsley, finely chopped
- Pinch of salt (for garlic butter)
- Optional: ½ teaspoon garlic powder (for extra garlic flavor)
How Much Time Will You Need?
This recipe takes around 15 minutes to prepare the dough and garlic butter, plus about 1 to 1 ½ hours for the first rise. You’ll also need 30 minutes for the second rise after shaping the rolls, and 15-20 minutes to bake. In total, plan for about 2 to 2.5 hours, but most of that time is hands-off while the dough rises.
Step-by-Step Instructions:
1. Preparing the Dough:
Start by mixing the yeast and sugar into the warm water. Let it sit for 5-10 minutes until it gets frothy—that means your yeast is alive and ready! In a big bowl, mix the flour and salt, then add the yeast mix, melted butter, and warm milk. Stir everything until a rough dough forms.
2. Kneading and First Rise:
Turn your dough onto a floured surface and knead for 8-10 minutes until smooth and elastic. If you have a stand mixer, use the dough hook for 6-7 minutes instead. Next, lightly oil a large bowl, pop your dough in, cover it with a towel or plastic wrap, and let it rise somewhere warm for about 1 to 1 ½ hours, until doubled in size.
3. Make the Garlic Butter and Shape Rolls:
While your dough is rising, mix melted butter with the minced garlic, chopped parsley, and a pinch of salt—you can also add a bit of garlic powder if you like it extra garlicky. Once your dough has risen, gently punch it down to release the air. Cut the dough into 10 equal pieces, shaping each into a smooth ball.
4. Second Rise and Bake:
Arrange your rolls in a baking dish lined with a clean towel, leaving a little room between each. Brush all over with some garlic butter. Cover loosely and let them rise again for about 30 minutes until they’re fluffy and puffy. While the rolls are rising, preheat your oven to 375°F (190°C). Bake the rolls for 15-20 minutes until they turn golden brown on top.
5. Final Touch and Serving:
Right after taking the rolls out of the oven, brush them again with the leftover garlic butter for a glossy, flavorful finish. Let them cool just a bit so they’re warm but not too hot—then dig in! These soft, buttery, garlicky rolls make the perfect side or snack.
Can I Use Frozen Dough to Make Garlic Bread Rolls?
Yes! You can prepare the dough ahead of time and freeze it after the first rise. When ready to bake, thaw it overnight in the fridge, then shape, let rise again, and bake as usual.
Can I Substitute Milk with a Dairy-Free Alternative?
Absolutely! Use almond, soy, or oat milk warmed to about 110°F (43°C) as a 1:1 substitute for whole milk to keep the rolls moist and soft.
How Should I Store Leftover Garlic Bread Rolls?
Store leftovers in an airtight container or resealable bag at room temperature for up to 2 days. For longer storage, freeze them and thaw as needed, then warm gently before serving.
Can I Add Cheese to These Rolls?
Definitely! Sprinkling shredded mozzarella or parmesan on top before baking adds a delicious cheesy twist that pairs perfectly with the garlic and herbs.