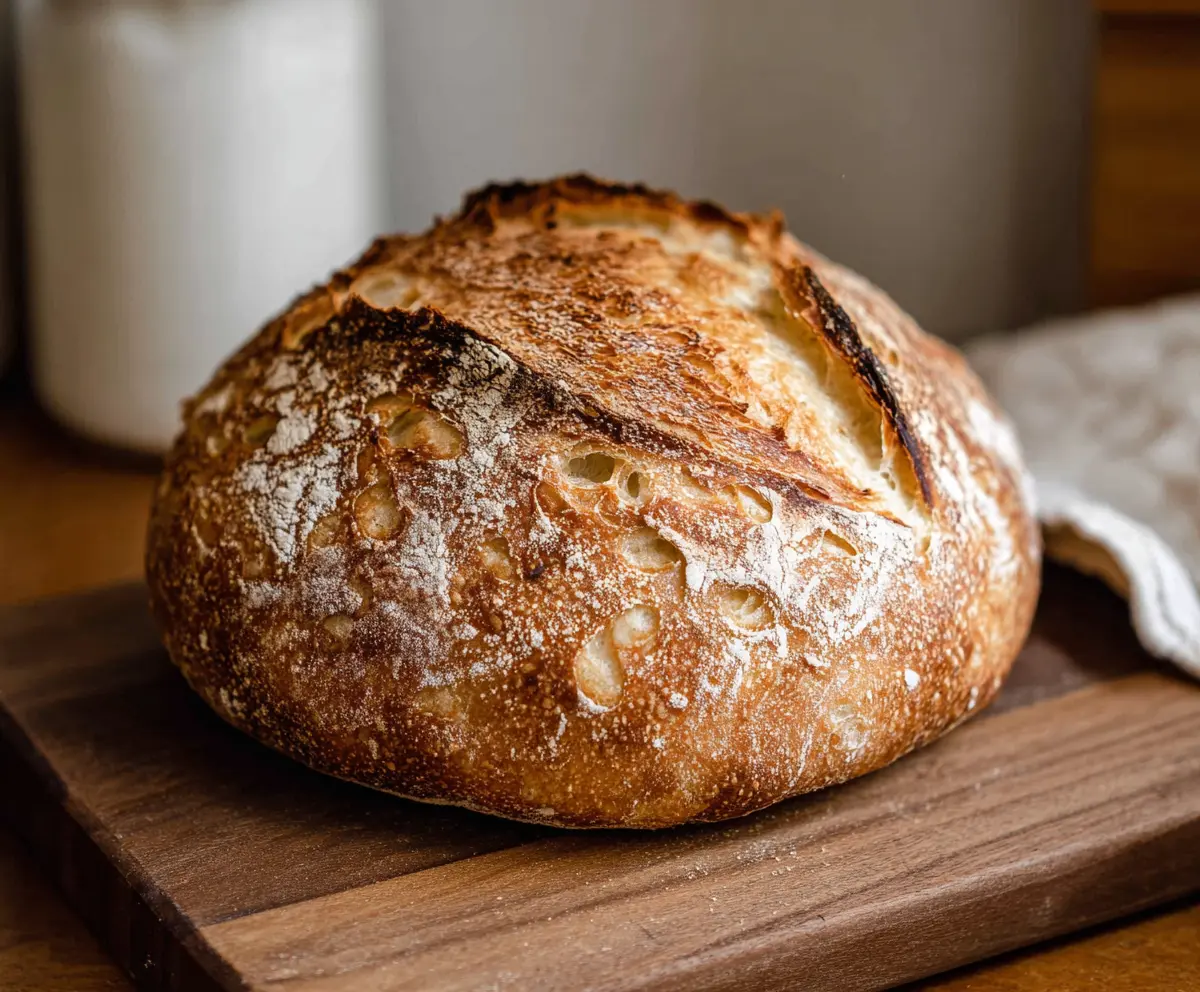
Best Ever Sourdough Bread Recipe is all about that perfect crusty outside and soft, chewy inside that makes every bite satisfying. It’s made with simple ingredients like flour, water, salt, and of course, your trusty sourdough starter that gives it that wonderful tangy flavor. This recipe walks you through each step, making it easy to follow whether you’re a beginner or a seasoned baker.
I love how this recipe breaks things down so you don’t feel overwhelmed. It’s like having a friendly guide right there with you, explaining the tricky parts like feeding your starter and shaping the dough. I always find that taking my time with the rise makes a big difference—waiting patiently really pays off with that amazing flavor and texture. Plus, making sourdough feels like a little weekend project that reminds me to slow down and enjoy the process.
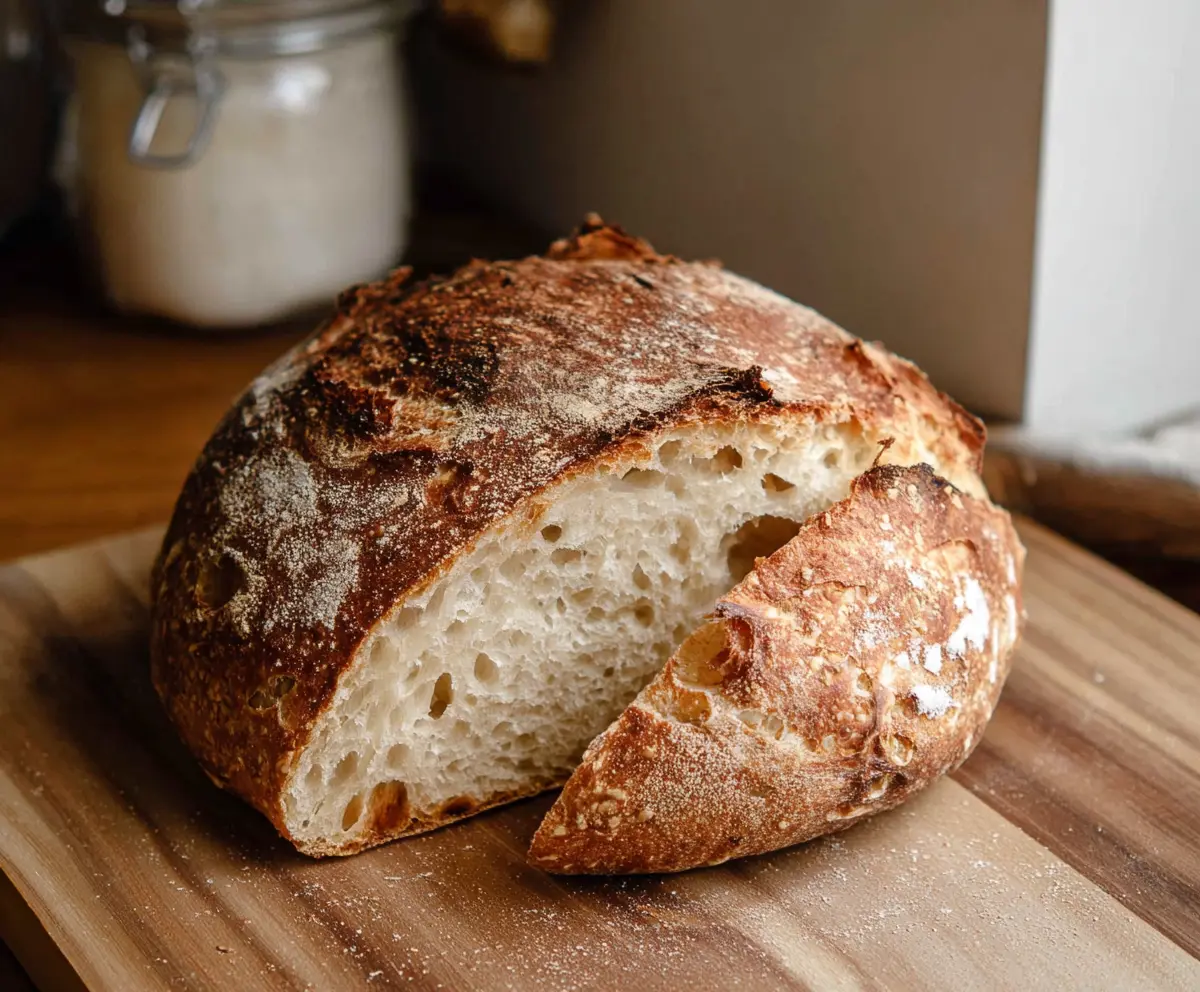
One of my favorite ways to serve this bread is fresh out of the oven with a generous spread of butter or alongside a bowl of soup. There’s something so satisfying about cutting into a loaf you made yourself and hearing that crust crack gently. Trust me, once you make this Best Ever Sourdough Bread, you’ll want to keep baking it again and again!
Key Ingredients & Substitutions
Bread Flour: This flour has a higher protein content, which helps create that chewy texture and good structure in your sourdough. If you don’t have bread flour, all-purpose flour can work, but the crumb might be a bit softer.
Sourdough Starter: An active, bubbly starter is crucial—it’s the natural yeast that makes your bread rise and gives it the signature tangy flavor. If you don’t have a starter yet, you can start one at home with just flour and water, but it takes about a week to get going.
Salt: The salt enhances flavor and strengthens the dough. Avoid adding too much or too little, as it affects fermentation and taste.
Water: Use lukewarm water to help activate the starter. The water amount can vary slightly depending on your flour; adjust so the dough feels sticky but manageable.
How Do You Perfectly Perform the Stretch & Fold Technique?
Stretch and folds help build the dough’s gluten network without traditional kneading. Here’s a simple way to do it:
- Wet your hand slightly to prevent sticking.
- Grab one side of the dough, gently pull it upward without tearing, and fold it over the rest of the dough.
- Turn the bowl a quarter turn and repeat 3 more times so all sides get stretched and folded.
- Do this every 30 minutes during bulk fermentation to develop strength and structure.
Don’t rush – gentle folding keeps the dough airy and helps trap gas bubbles for that beautiful, open crumb.
Equipment You’ll Need
- Large mixing bowl – great for mixing and letting your dough rest comfortably.
- Dutch oven with lid – traps steam perfectly to give your bread a crispy crust.
- Banneton basket or bowl with kitchen towel – helps shape and support your dough during the final proof.
- Bench scraper – makes handling and shaping sticky dough much easier.
- Sharp knife or bread lame – essential for scoring the dough so it expands nicely while baking.
- Kitchen scale – helps you measure ingredients precisely for the best results.
Flavor Variations & Add-Ins
- Add 1/2 cup toasted seeds (like sunflower or sesame) to the dough for added crunch and nutty flavor.
- Mix in 1/2 cup chopped olives or sun-dried tomatoes for a Mediterranean twist.
- Replace part of the bread flour with whole wheat flour (up to 30%) for a heartier taste and denser texture.
- Add herbs like rosemary or thyme during mixing for a fragrant, fresh flavor.
Best Ever Sourdough Bread Recipe (Step-by-Step)
Ingredients You’ll Need:
- 500g (4 cups) bread flour
- 350g (1 1/2 cups) water, lukewarm
- 100g (1/2 cup) active sourdough starter (fed and bubbly)
- 10g (2 tsp) salt
- Extra flour for dusting
How Much Time Will You Need?
This recipe takes about 30 minutes of hands-on prep, with several resting and rising periods totaling around 6 to 8 hours. You can also do an overnight proof in the fridge to enhance the flavor. Baking time is about 40-45 minutes.
Step-by-Step Instructions:
1. Prepare the Starter:
Make sure your sourdough starter is active and bubbly. Feed it 4-6 hours before you begin so it’s at its peak activity for the best rise.
2. Mix the Dough:
In a large bowl, combine the bread flour and lukewarm water. Stir until there’s no dry flour left. Cover and let it rest for 30-45 minutes. This resting step, called autolyse, helps the flour absorb water and kick-start gluten development.
3. Add Starter and Salt:
Mix in your active sourdough starter and salt until fully incorporated into the dough.
4. Bulk Fermentation and Stretch & Fold:
Over the next 3-4 hours, every 30 minutes, perform 3 to 4 sets of stretch and folds. To do this, wet your hand, grab one edge of the dough, gently pull it up, and fold it back over the dough. Rotate the bowl and repeat on all sides. This builds gluten strength without kneading.
5. Shape the Dough:
After the final stretch and fold, let the dough rest until it has grown about 30-50% in size. Turn it onto a floured surface and shape it into a tight round loaf by folding the edges into the center and then flipping it seam side down. Pull it gently toward you to create surface tension.
6. Final Proof:
Place your shaped dough into a lightly floured banneton basket or a bowl lined with a floured kitchen towel, seam side up. Cover it and let it rise for 1-3 hours at room temperature. Alternatively, you can refrigerate it overnight to slow the fermentation and deepen the flavor.
7. Preheat the Oven:
Place a Dutch oven with its lid inside your oven and preheat to 240°C (465°F) for at least 30 minutes. This ensures a hot environment for baking.
8. Bake the Bread:
Carefully transfer your dough onto parchment paper, score the top with a sharp knife or lame to allow it to expand while baking, then place it into the hot Dutch oven. Cover with the lid and bake for 20 minutes. Remove the lid and bake for another 20-25 minutes until the crust turns deep golden brown and crispy.
9. Cool Down:
Remove the bread from the oven and let it cool for at least 1 hour on a wire rack before slicing. Cooling sets the crumb and makes slicing easier.
Enjoy your fresh, tangy sourdough bread with a crackling crust and airy, chewy crumb!
Can I Use All-Purpose Flour Instead of Bread Flour?
Yes, you can substitute all-purpose flour, but the bread may be slightly less chewy and have a softer crust. For best results, bread flour is recommended due to its higher protein content.
How Do I Know When My Starter Is Ready to Use?
Your starter is ready when it’s bubbly, has doubled in size, and passes the “float test” (a spoonful floats in water). Feed it 4-6 hours before baking to ensure peak activity.
Can I Refrigerate the Dough Overnight?
Absolutely! Refrigerating the dough overnight during the final proof slows fermentation, developing more complex flavors. Just bring it back to room temperature for about 30 minutes before baking.
What’s the Best Way to Store Leftover Sourdough Bread?
Store leftovers wrapped in a clean kitchen towel or paper bag to keep the crust crisp for up to 2 days. For longer storage, slice and freeze the bread; thaw slices at room temperature or toast directly from frozen.