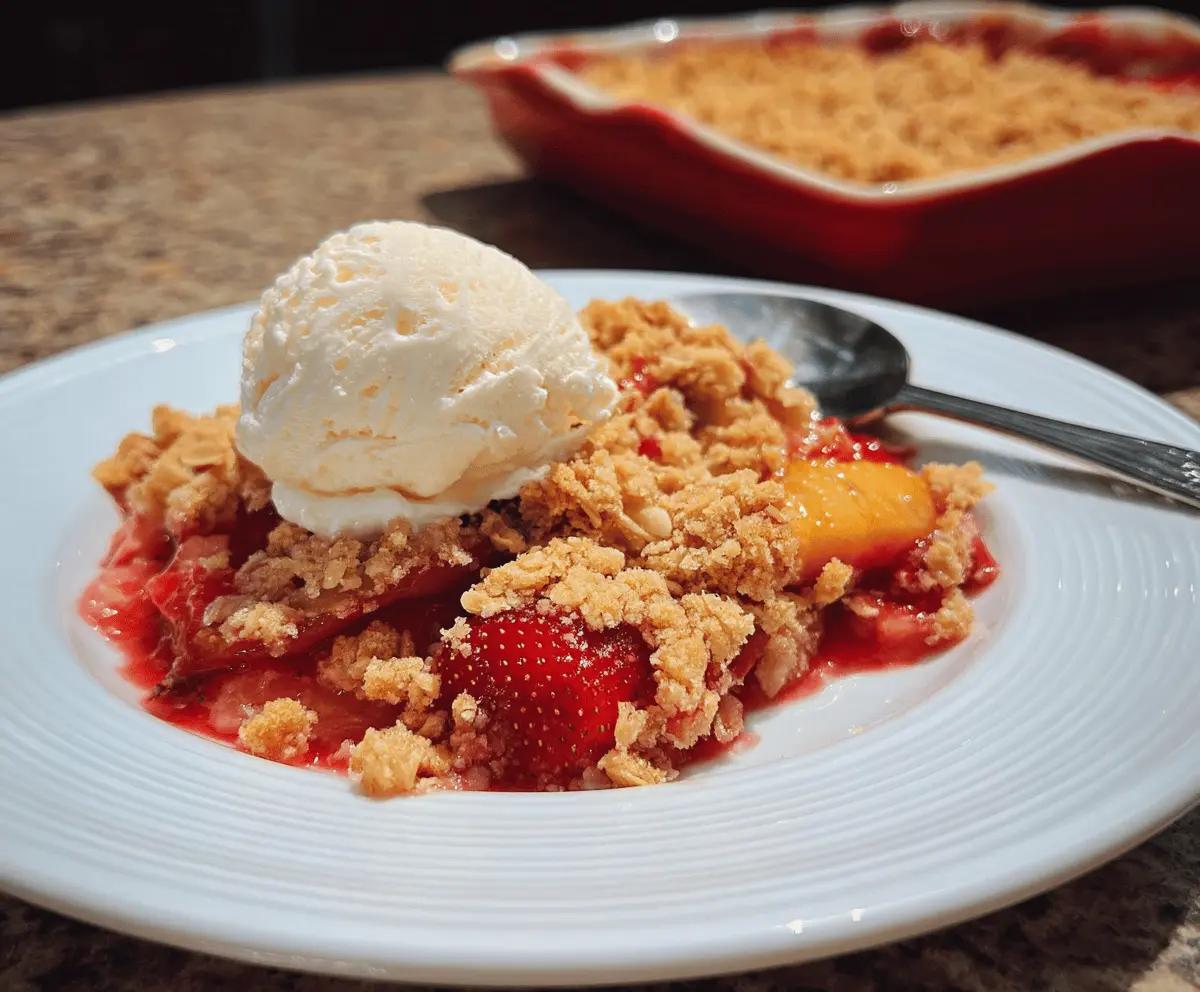
This Easy Strawberry Peach Crisp is a warm and fruity treat that’s perfect for any occasion! Juicy strawberries and sweet peaches come together under a crunchy oat topping.
It’s super simple to make, and my favorite part is how the cozy smell fills the kitchen. I love serving it with a scoop of ice cream on top—yum! 🍑🍓
Key Ingredients & Substitutions
Peaches: Fresh peaches are a must here! If they’re out of season, you can use canned peaches in juice, just drain them first. Frozen peaches can work too; just thaw and drain excess water.
Strawberries: Fresh strawberries add a nice tartness. You can swap them with any berries like blueberries or raspberries if you prefer. Mix and match for a fun twist!
Granulated Sugar: If you’re watching sugar intake, consider using a sugar substitute like stevia or coconut sugar. Adjust according to your taste.
Butter: For a dairy-free option, coconut oil or vegan butter works great as substitutes. It will give a slightly different flavor but still delicious!
How Do I Get the Perfect Crunchy Topping?
The secret to that crunchy topping lies in how you mix your butter with the dry ingredients. Here are some tips:
- Make sure your butter is cold; this helps create a flaky topping.
- Use your fingers or a pastry cutter to mix until it looks like coarse crumbs. Don’t overwork it—some chunks are welcome!
- Evenly spread the topping over the fruit; this ensures even baking and browning.
Easy Strawberry Peach Crisp
Ingredients You’ll Need:
For the Fruit Filling:
- 4 cups fresh peaches, peeled and sliced
- 2 cups fresh strawberries, hulled and halved
- 1/2 cup granulated sugar
- 1 tablespoon lemon juice
- 1 teaspoon vanilla extract
For the Crisp Topping:
- 3/4 cup old-fashioned rolled oats
- 1/2 cup all-purpose flour
- 1/2 cup packed brown sugar
- 1/2 teaspoon ground cinnamon
- 1/4 teaspoon salt
- 1/2 cup unsalted butter, cold and cut into small pieces
How Much Time Will You Need?
This delicious Strawberry Peach Crisp will take you about 15 minutes to prepare, and then you will bake it for 35-40 minutes. In total, you’re looking at around 55 minutes from start to table!
Step-by-Step Instructions:
1. Preheat the Oven:
Start by preheating your oven to 350°F (175°C). This ensures a nice, even bake for the crisp later on.
2. Prepare the Fruit Filling:
In a large bowl, toss the sliced peaches and halved strawberries with the granulated sugar, lemon juice, and vanilla extract. Make sure the fruit is well-coated in the sugar mixture, as this helps to enhance the flavors.
3. Assemble the Baking Dish:
Transfer the fruit mixture into a greased 8×8-inch baking dish. Even out the fruit so it’s spread evenly across the bottom.
4. Make the Crisp Topping:
In another bowl, combine the rolled oats, flour, brown sugar, cinnamon, and salt. Give it a good stir. Then add the cold butter pieces and mix using a pastry cutter or your fingers until the mixture resembles coarse crumbs. We’re aiming for crumbly but still a bit chunky—don’t overdo it!
5. Top the Fruit:
Sprinkle the oat topping evenly over the fruit layer in the baking dish. Make sure to cover the fruit completely for a nice, crispy top.
6. Bake to Perfection:
Place the baking dish in the preheated oven and bake for about 35-40 minutes. You’ll know it’s ready when the topping is golden brown and the fruit is bubbling around the edges. Your kitchen should smell amazing by now!
7. Cool and Serve:
Once it’s baked, remove it from the oven and let it cool for a few minutes. This helps the juices settle. Serve warm, and if you like, add a scoop of vanilla ice cream or a dollop of whipped cream on top for a delightful treat. Enjoy!

Frequently Asked Questions
Can I Use Frozen Peaches and Strawberries?
Yes, you can use frozen fruit! Just be sure to thaw them first and drain any excess liquid. This will help prevent the crisp from becoming too watery.
How Can I Make This Recipe Gluten-Free?
To make the crisp gluten-free, simply substitute the all-purpose flour with a 1:1 gluten-free flour blend and use certified gluten-free oats. The result will be just as delicious!
Can I Prepare It Ahead of Time?
Absolutely! You can assemble the crisp in advance and store it in the refrigerator for up to a day before baking. Just cover it tightly with plastic wrap or foil. When you’re ready to bake, remove it from the fridge and bake as instructed, adding a few extra minutes to the baking time.
How Should I Store Leftovers?
Store any leftovers in an airtight container in the refrigerator for up to 3 days. To reheat, simply pop it back in the oven at 350°F (175°C) until warmed through, or microwave individual portions for a quick treat!