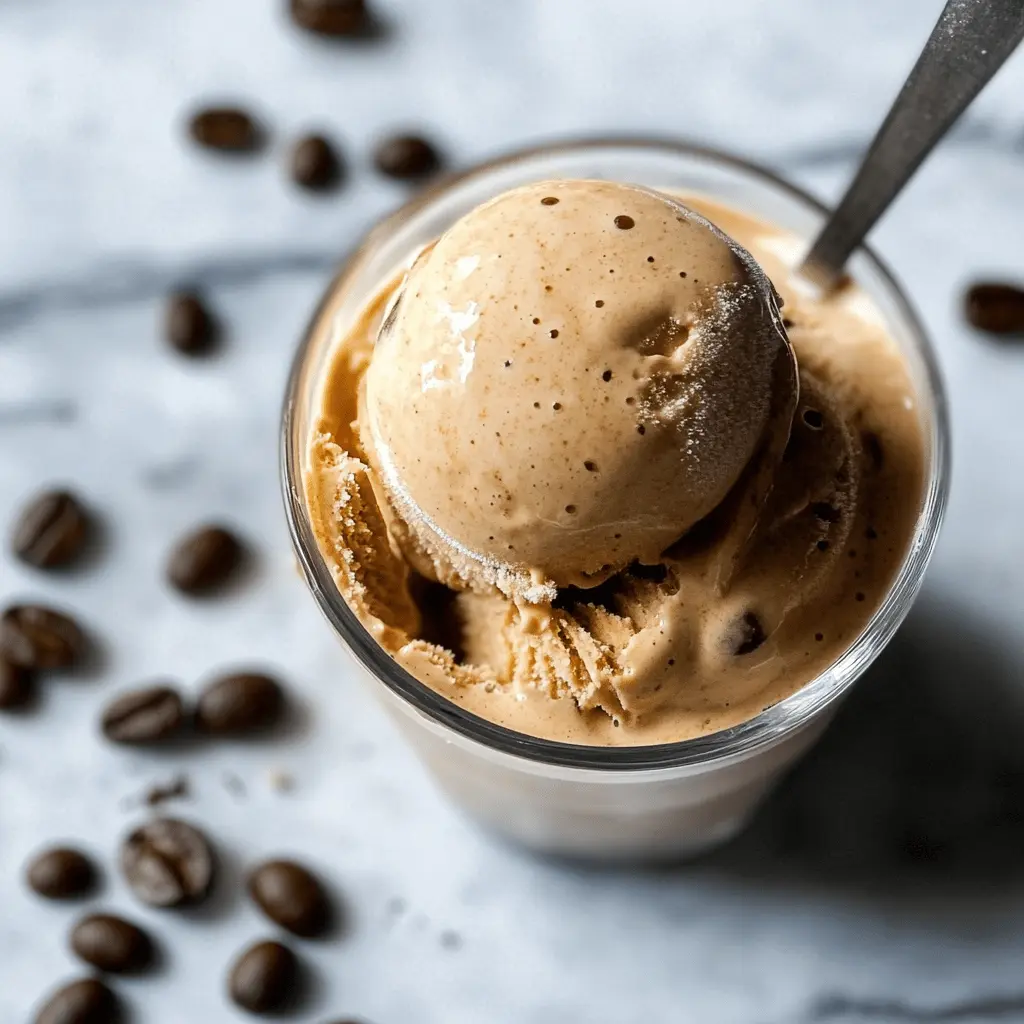
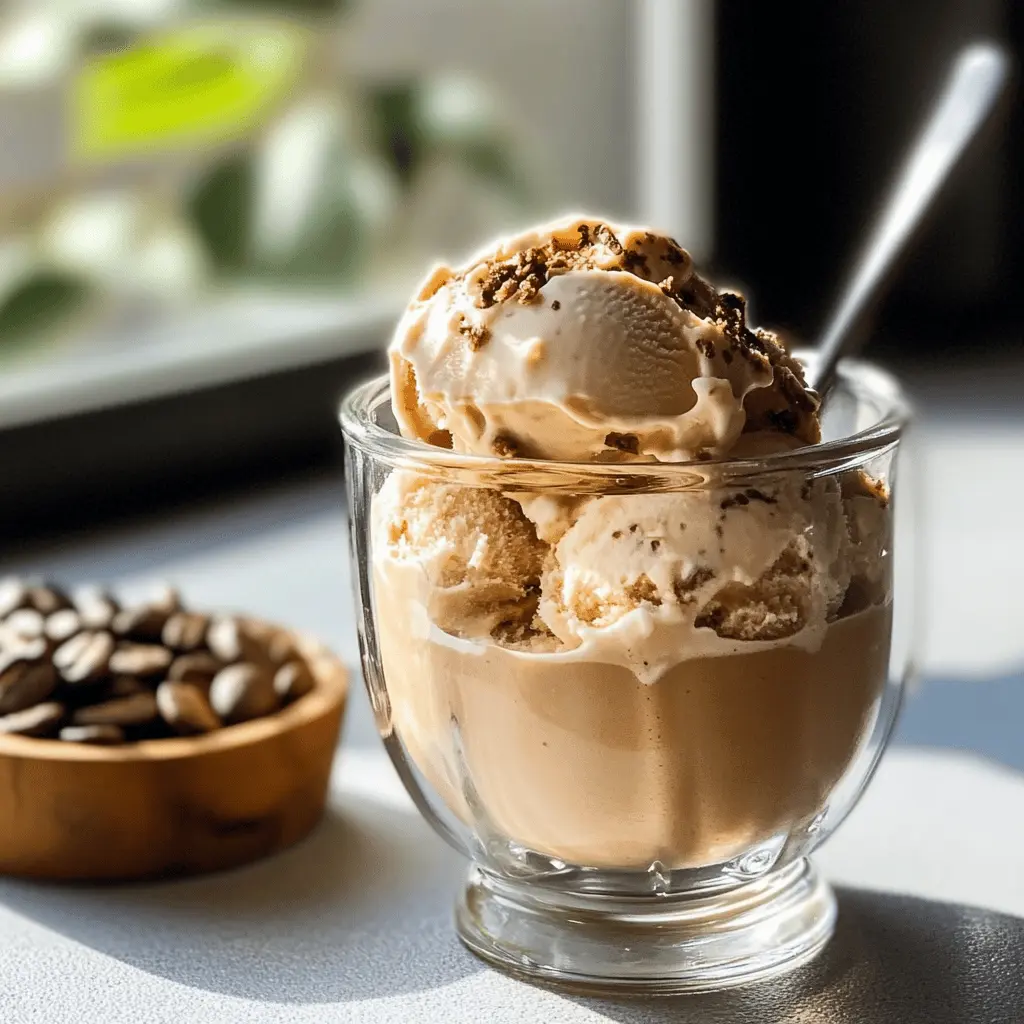
This creamy homemade espresso ice cream is a fun treat for coffee lovers! With rich espresso flavor and a smooth texture, it’s a perfect way to cool down on a sunny day.
Making it at home is a blast! I love seeing the ice cream churn and getting that fresh coffee smell. Plus, it’s a nice treat for guests—just try not to eat it all yourself! 😄
Ingredients & Substitutions
Heavy Cream: The rich flavor comes from heavy cream. If you want a lighter option, try half-and-half, but keep in mind the texture won’t be as creamy. I prefer full heavy cream for the best result!
Whole Milk: Whole milk adds creaminess, but I’ve used 2% with good results. If you’re dairy-free, use almond or oat milk, though it might alter the flavor slightly.
Granulated Sugar: Regular sugar works well, but you can try brown sugar or coconut sugar for a different sweetness and flavor twist. Just use the same amount—no need to adjust!
Egg Yolks: These give the ice cream its richness. If you’re avoiding raw eggs, use pasteurized eggs or a store-bought custard base. I’ve done this when feeling really lazy!
Espresso Powder: Instant espresso is easy to use, but fresh brewed espresso is wonderful if you have it. I love the intense flavor it brings! For a decaf option, use decaf espresso.
Vanilla Extract: Always use pure vanilla extract if you can. Artificial vanilla works in a pinch, but the taste won’t compare!
How Do I Achieve a Smooth Custard Base?
Making the custard might feel tricky, but with practice, you’ll get it right! The key is to control the heat and stir consistently. Here’s how to nail it:
- Keep the heat low when cooking the custard to avoid scrambling the eggs. You’re looking for a gentle thickening, not boiling!
- Use a wooden spoon or spatula to stir; this helps you feel the custard’s thickness. When it coats the back of the spoon, it’s ready!
- Strain the mixture right after cooking to catch any bits that might’ve scrambled. This step is crucial for that smooth texture!
By practicing these steps, you’ll create the perfect creamy base for your ice cream! Enjoy your homemade treat! 🍦

Creamy Homemade Espresso Ice Cream
Ingredients You’ll Need:
For the Ice Cream Base:
- 2 cups heavy cream
- 1 cup whole milk
- 3/4 cup granulated sugar
- 1/4 teaspoon salt
- 4 large egg yolks
For the Coffee Flavor:
- 2 tablespoons instant espresso powder (or 1/4 cup freshly brewed espresso, cooled)
For Extra Flavor:
- 1 teaspoon pure vanilla extract
How Much Time Will You Need?
This delicious ice cream requires about 15 minutes of active preparation time and at least 4 hours to chill in the refrigerator. You’ll also need additional time to freeze the ice cream after churning, so plan on a total of around 6 hours from start to finish. But trust me, it’s worth the wait!
Step-by-Step Instructions:
1. Warm the Cream Mixture:
In a medium saucepan, combine the heavy cream, whole milk, half of the sugar (3/8 cup), salt, and espresso powder or brewed espresso. Heat the mixture over medium heat until it’s hot but not boiling. Make sure to stir occasionally to dissolve the espresso and sugar. Once it’s hot, remove it from the heat.
2. Whisk the Egg Yolks:
In a separate bowl, whisk the egg yolks with the remaining sugar until the mixture becomes pale and thick. This is the base of your custard, and it creates that lovely creaminess!
3. Temper the Eggs:
Slowly pour about 1 cup of the warm espresso cream mixture into the egg yolks while whisking continuously. This step is called tempering and helps to prevent the eggs from curdling.
4. Combine and Cook the Custard:
Pour the tempered egg yolk mixture back into the saucepan with the remaining cream mixture. Cooking over medium-low heat, stir constantly with a wooden spoon or spatula until the custard thickens enough to coat the back of the spoon (about 170°F or 77°C). Be careful not to let it boil!
5. Strain and Flavor the Custard:
Remove the saucepan from the heat and strain the custard through a fine mesh sieve into a clean bowl to remove any cooked bits. Now stir in the vanilla extract for added flavor.
6. Chill the Custard:
Let the custard cool to room temperature, then cover it and chill in the refrigerator for at least 4 hours or overnight. This step is key for developing that rich flavor!
7. Churn the Ice Cream:
Once your custard is well chilled, churn it in an ice cream maker according to the manufacturer’s instructions. Churn until it reaches a soft-serve consistency!
8. Freeze and Firm Up:
Transfer the churned ice cream to an airtight container. Freeze it for at least 2-4 hours until it’s nice and firm.
9. Serve and Enjoy!
When you’re ready, scoop out your rich, creamy homemade espresso ice cream and enjoy the delicious flavors! Perfect for a warm day or as a delightful dessert any time. Enjoy!

FAQ for Creamy Homemade Espresso Ice Cream
Can I Use Decaf Espresso in This Recipe?
Absolutely! If you prefer decaf, just substitute the instant espresso powder or brewed espresso with decaffeinated versions. The flavor will still shine through, allowing you to enjoy the dessert without the caffeine!
How Long Will Leftover Ice Cream Last in the Freezer?
Your homemade espresso ice cream can last in the freezer for about 2-3 weeks when stored in an airtight container. Just make sure to seal it well to prevent freezer burn!
Can I Add Mix-Ins Like Chocolate Chips or Nuts?
Definitely! You can fold in mix-ins like chocolate chips, crushed nuts, or even a swirl of caramel after churning. Just make sure to mix gently to avoid breaking up the ice cream’s texture!
Can I Make This Without an Ice Cream Maker?
Yes! If you don’t have an ice cream maker, you can pour the chilled mixture into a shallow container and freeze it. Every 30-45 minutes, stir vigorously with a fork to break up ice crystals until the ice cream is firm and creamy. It may require more effort, but it’s totally doable!


